Portfolio
From the problem to the part.
Seven pieces from the workshop — each one exists because the right solution was not for sale. The pictures cycle on their own; hold the pointer on one to stop it.
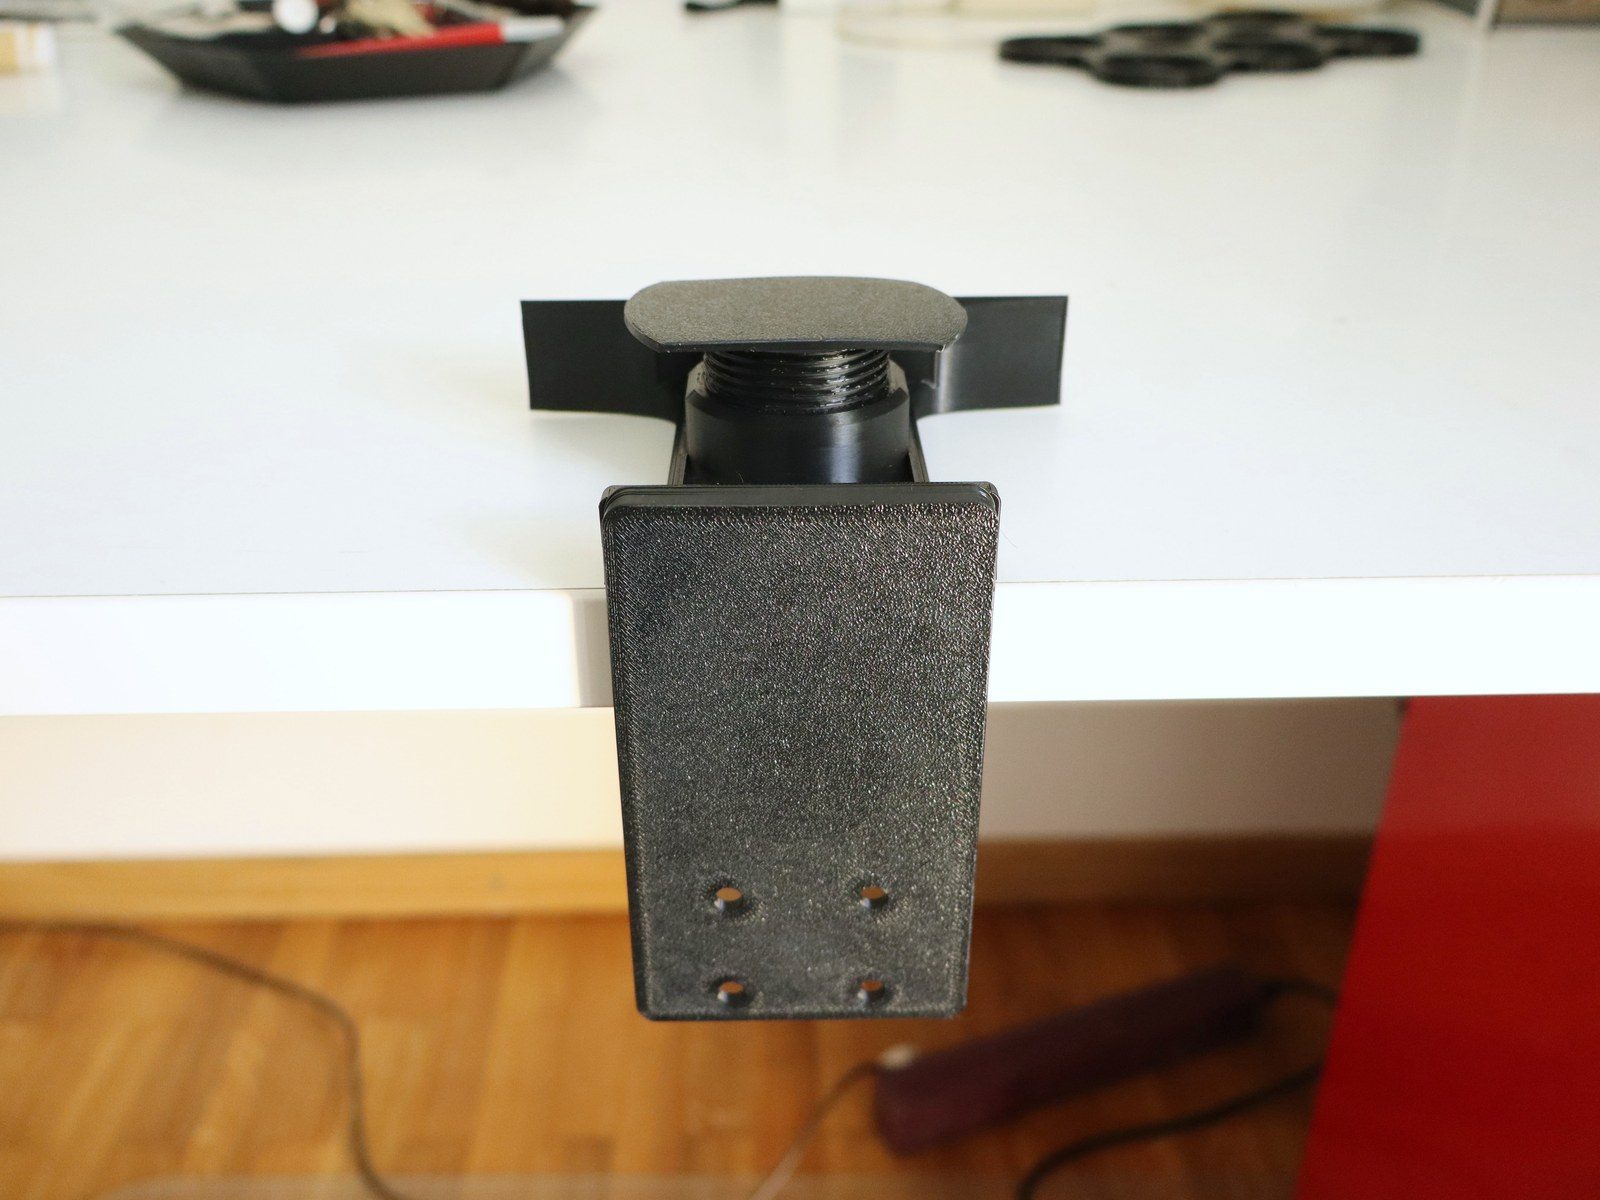
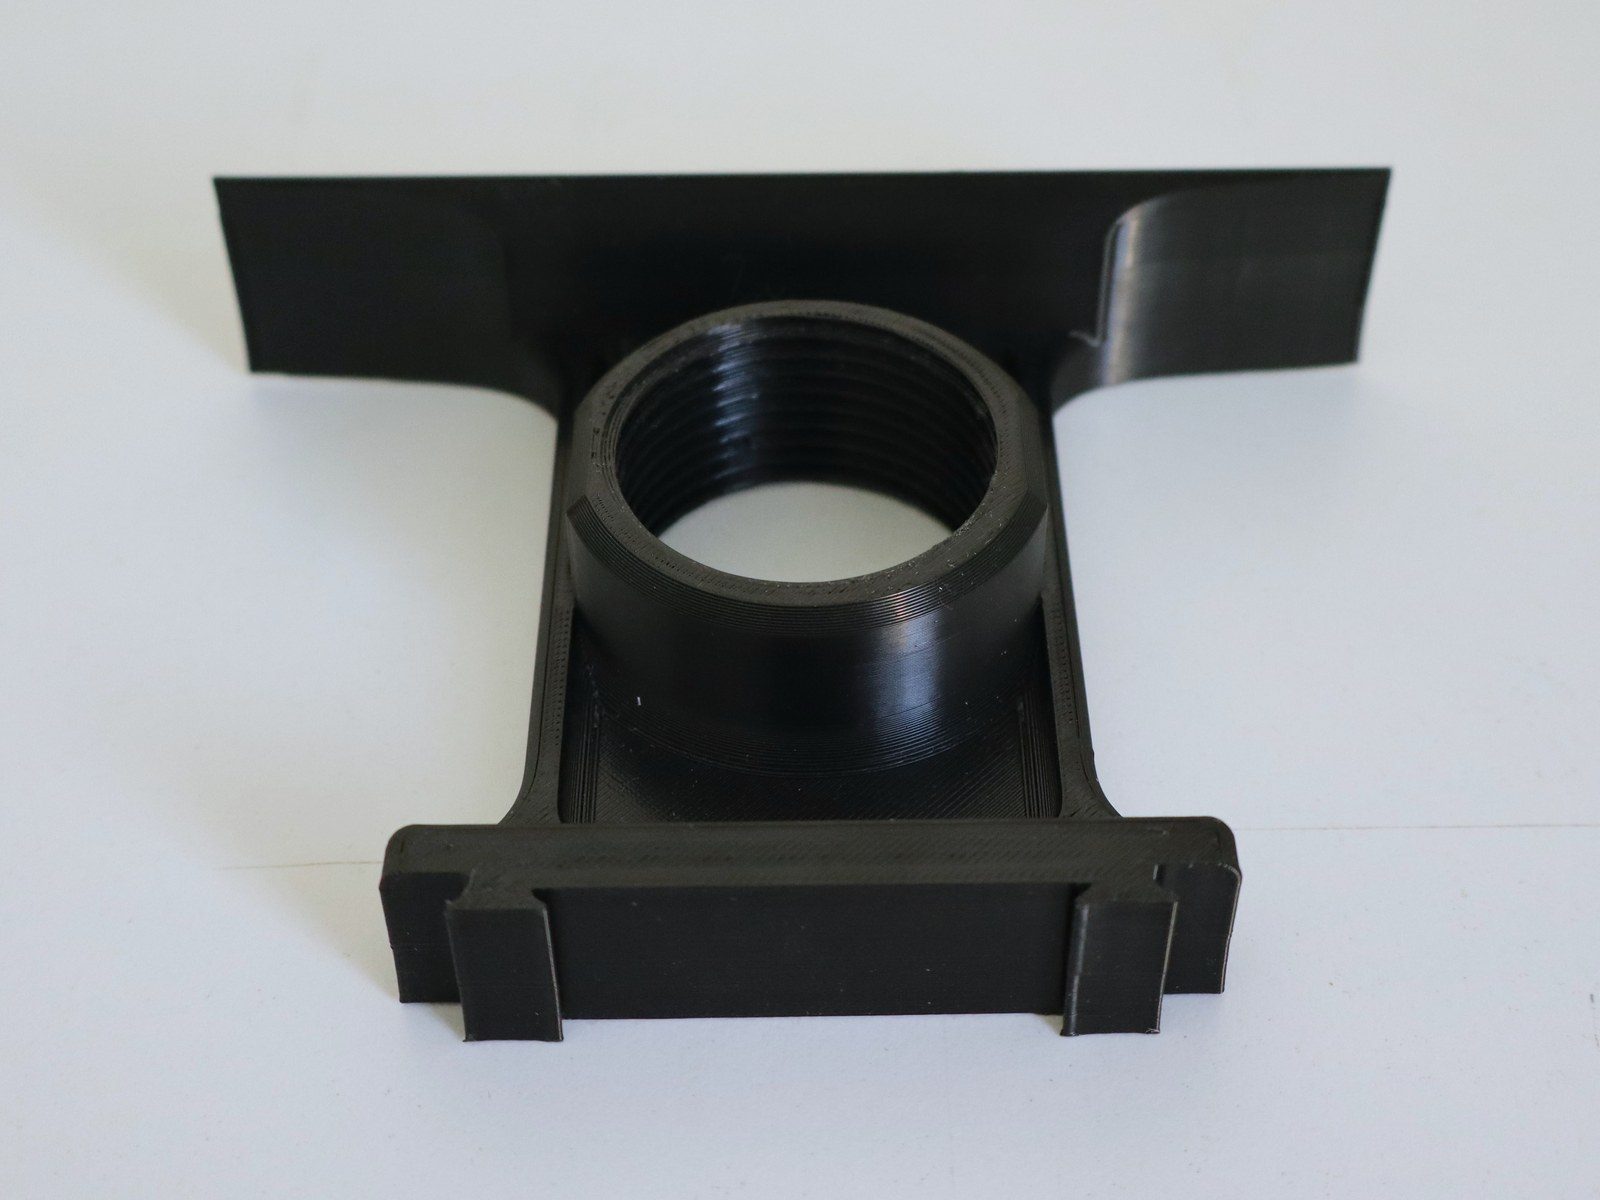
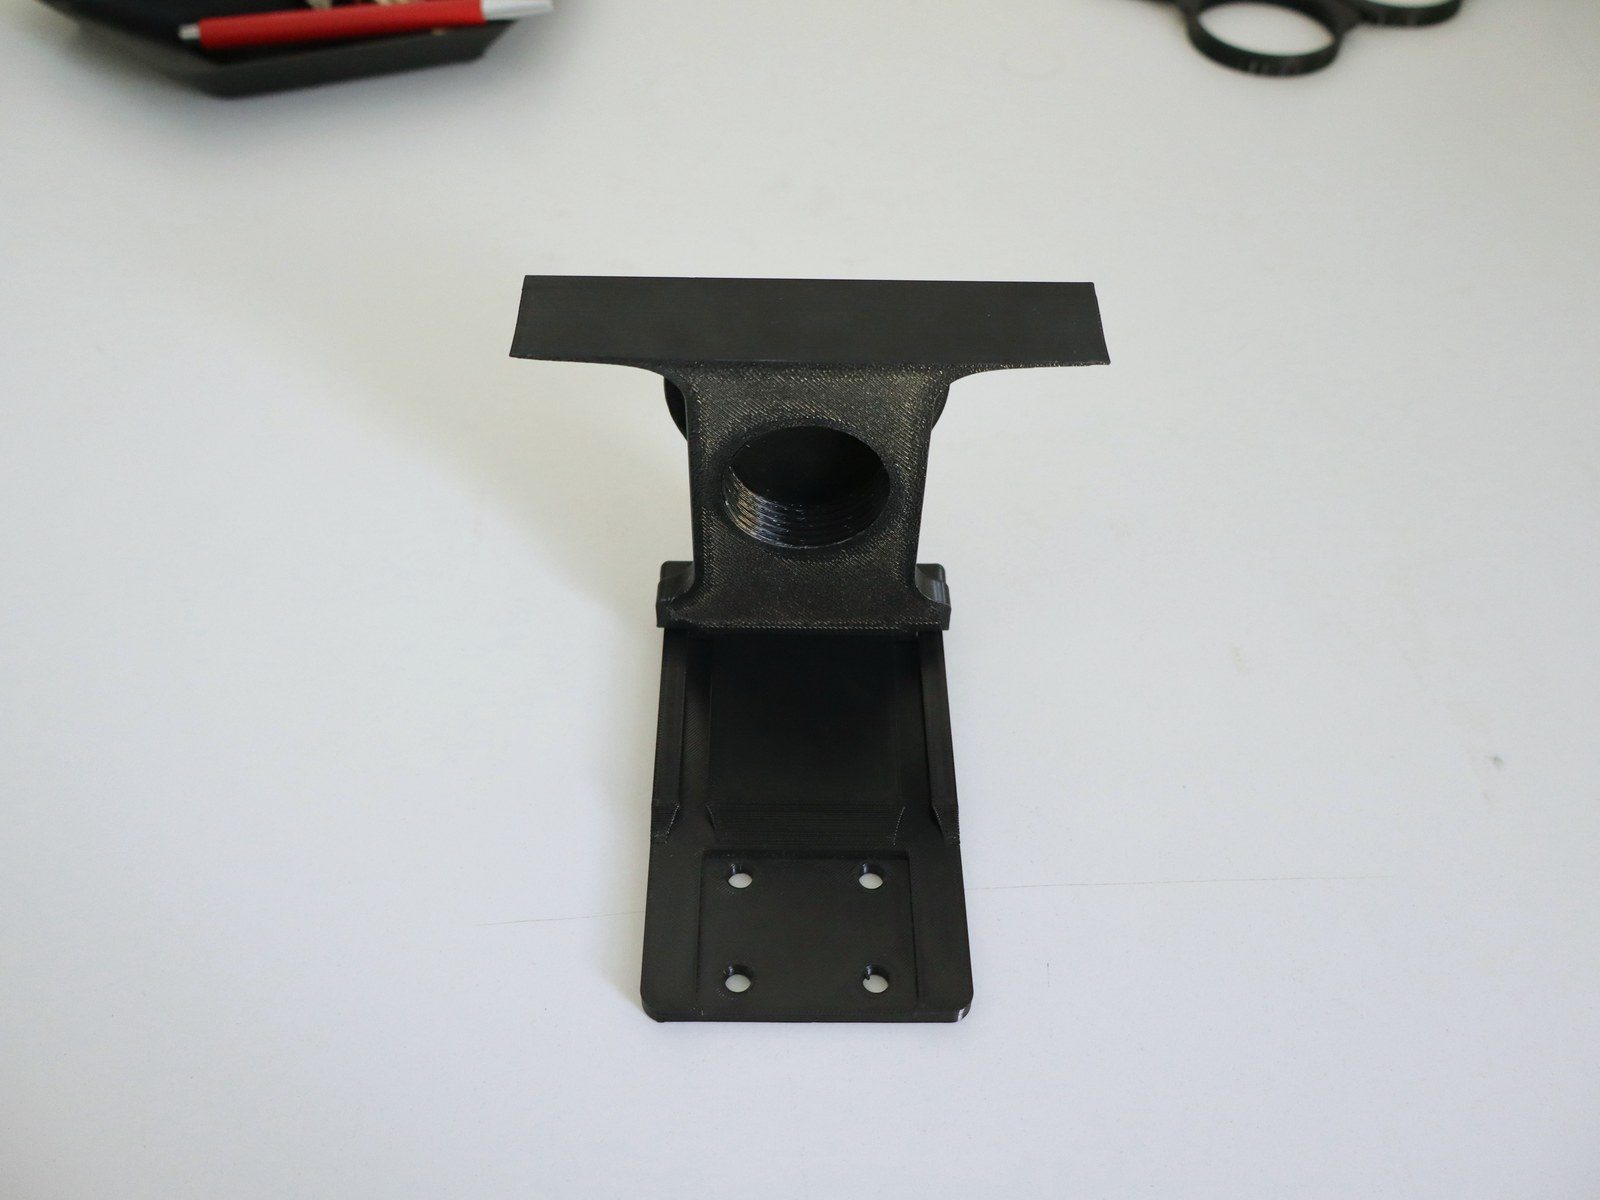
Photo - Shown on a table top, the screw sits on top Photo - The seat, with its slot and screw boss Photo - Assembled, with the screw pattern for the TV
A TV mount for the BMW i3, which has no ordinary headrest on two posts, just a single hole.
Read more
That is why my mount comes in three parts. The body is the connecting piece: it is placed into the hole and tensioned with one large screw. The TV can then be slid onto the body using the adapter plate, and the mount is done. The adapter plate is held to the TV by four M3 screws. Everything is printed in PC blend, one of the toughest materials I use: it takes the summer heat and carries more load than ASA-X or ABS.
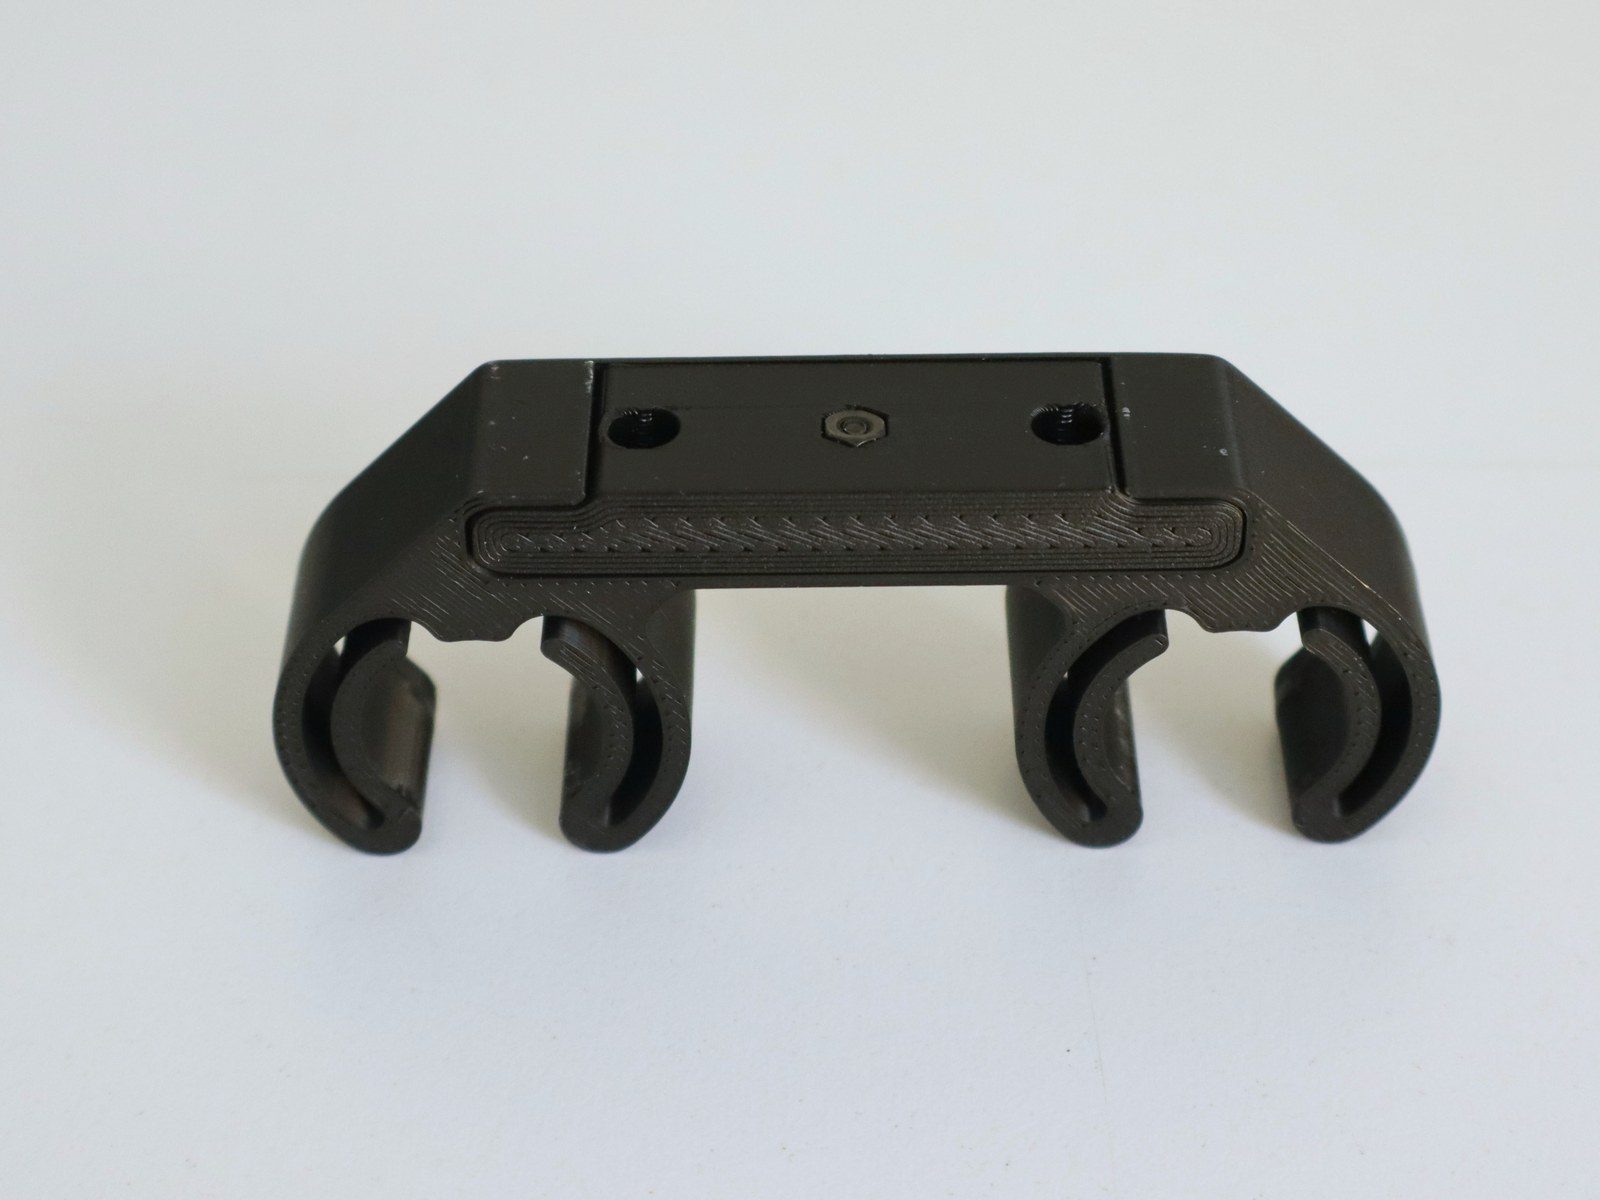
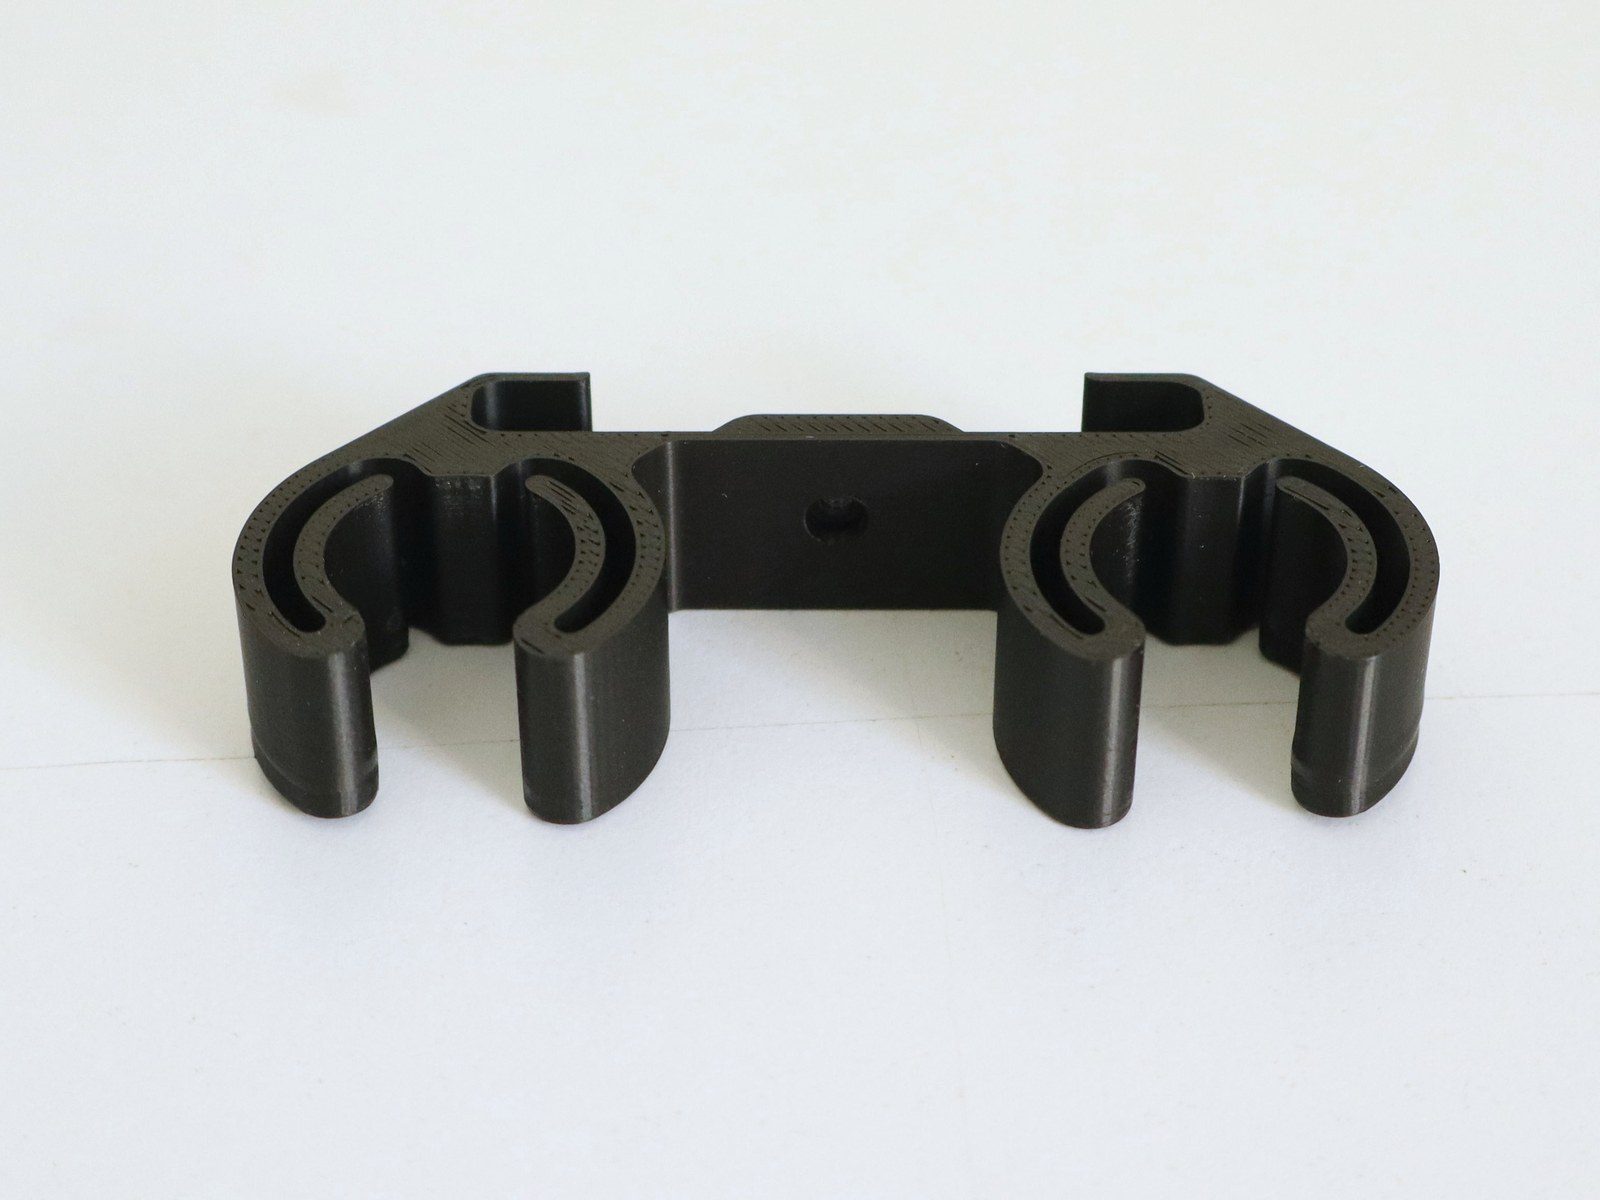
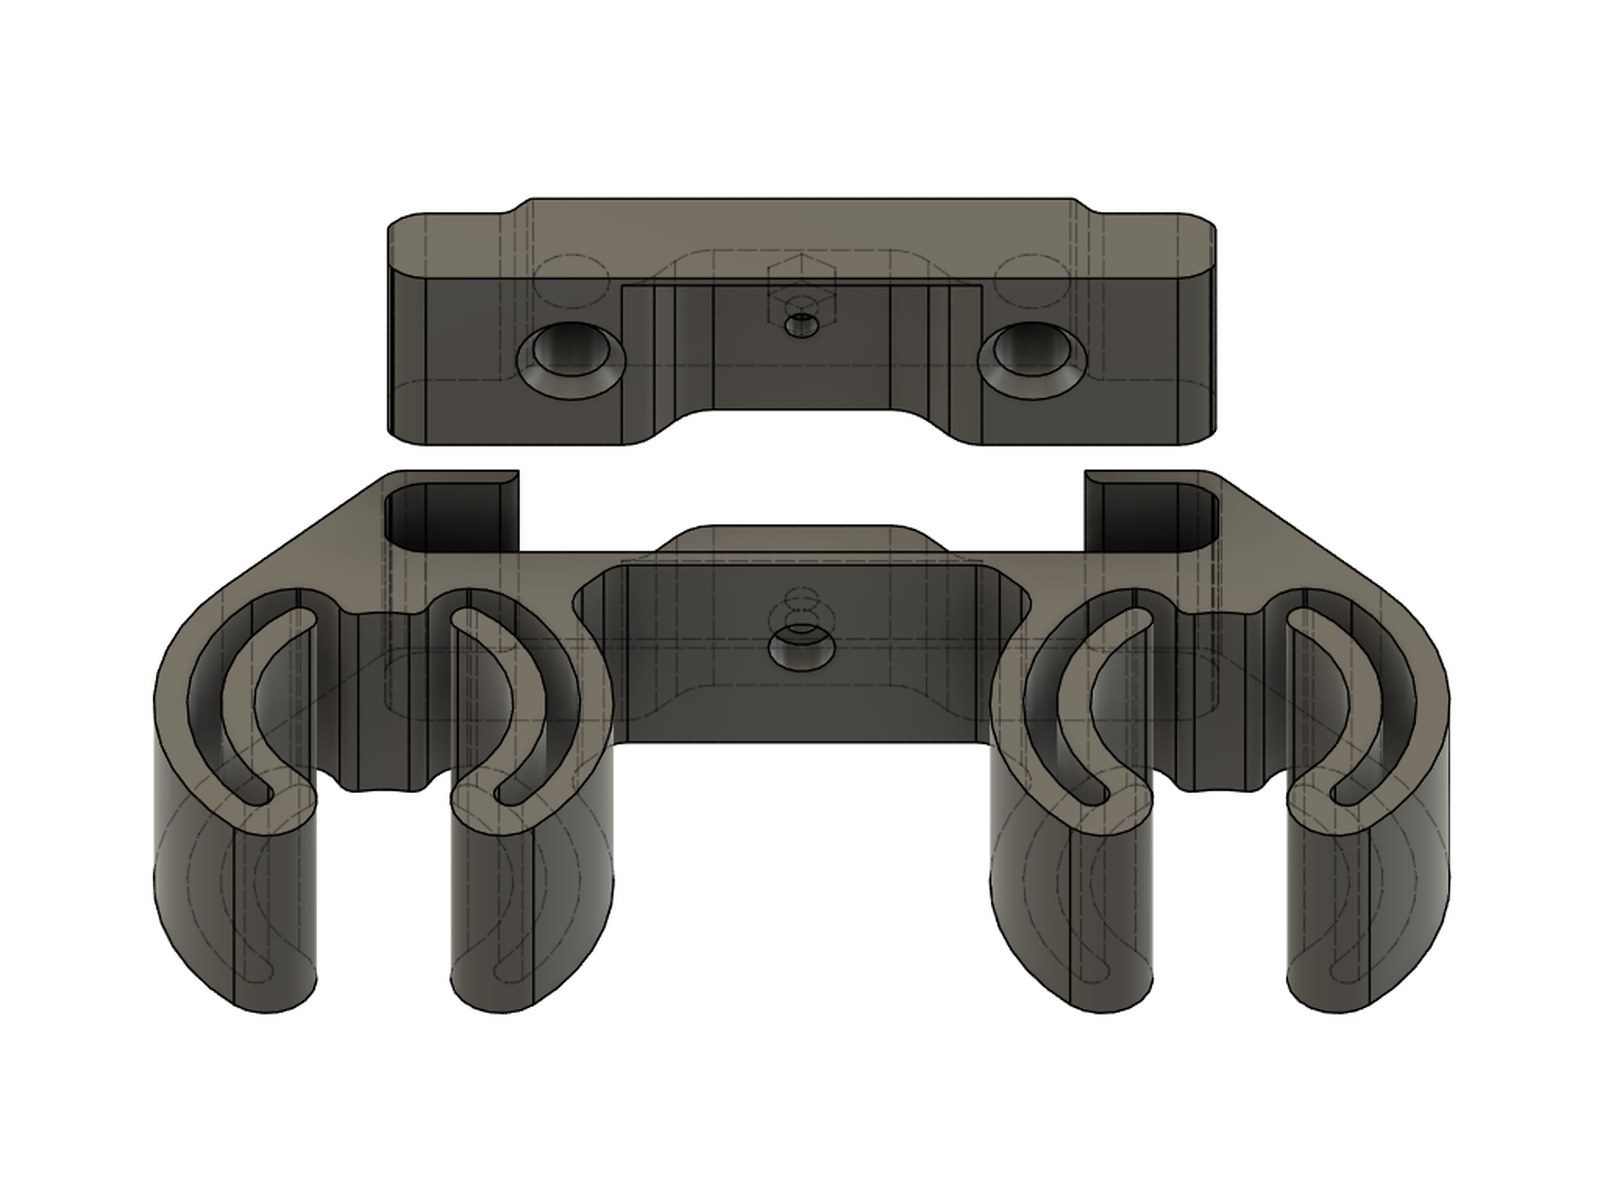
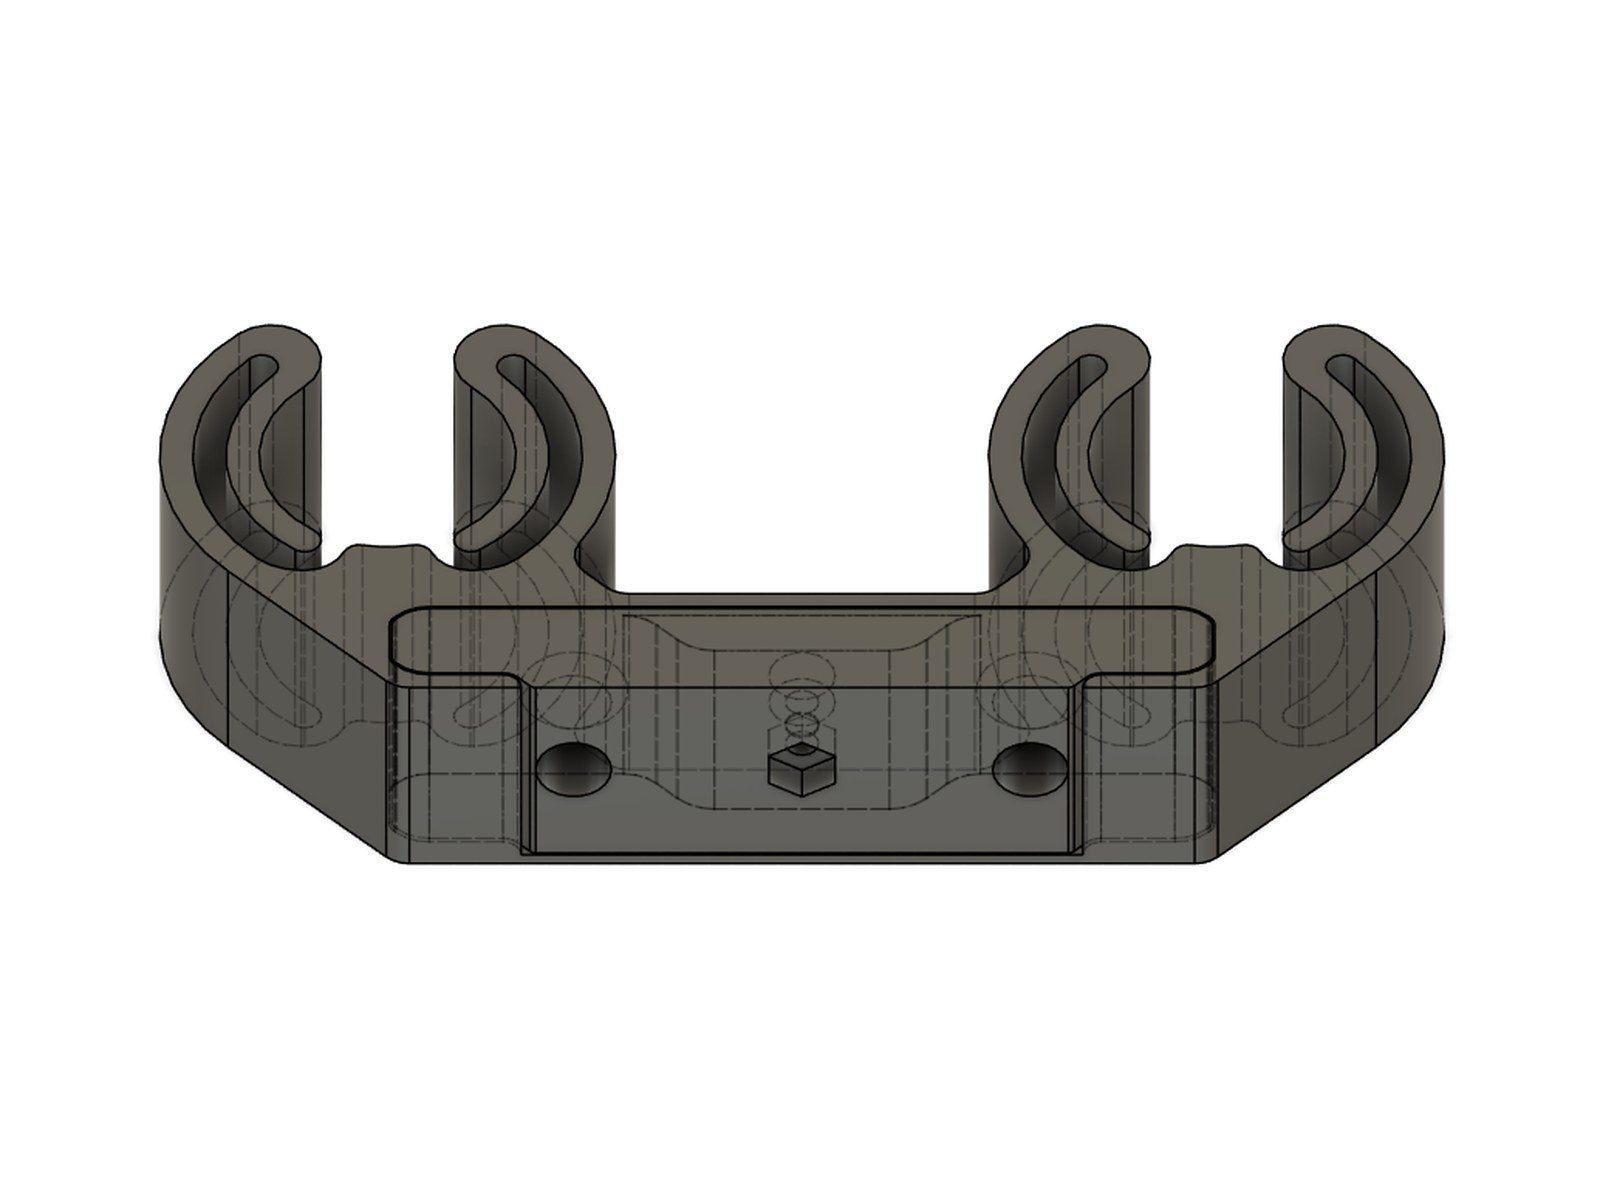
Photo - From behind, with the wall plate and the embedded nut Photo - The holder from the front CAD - Wall plate above, clamps below CAD - Assembled, from behind
A wall mount for hiking poles, made for a pole diameter of 16 millimetres.
Read more
The clamping idea comes from broom holders: the pole is pushed in and the spring action holds it at two points. That way it barely slips and stays parallel to the wall. The wall plate is universal, the holder slides onto it and is secured with one screw. The matching metal nut sits inside the part, embedded during printing, so no plastic thread can strip.
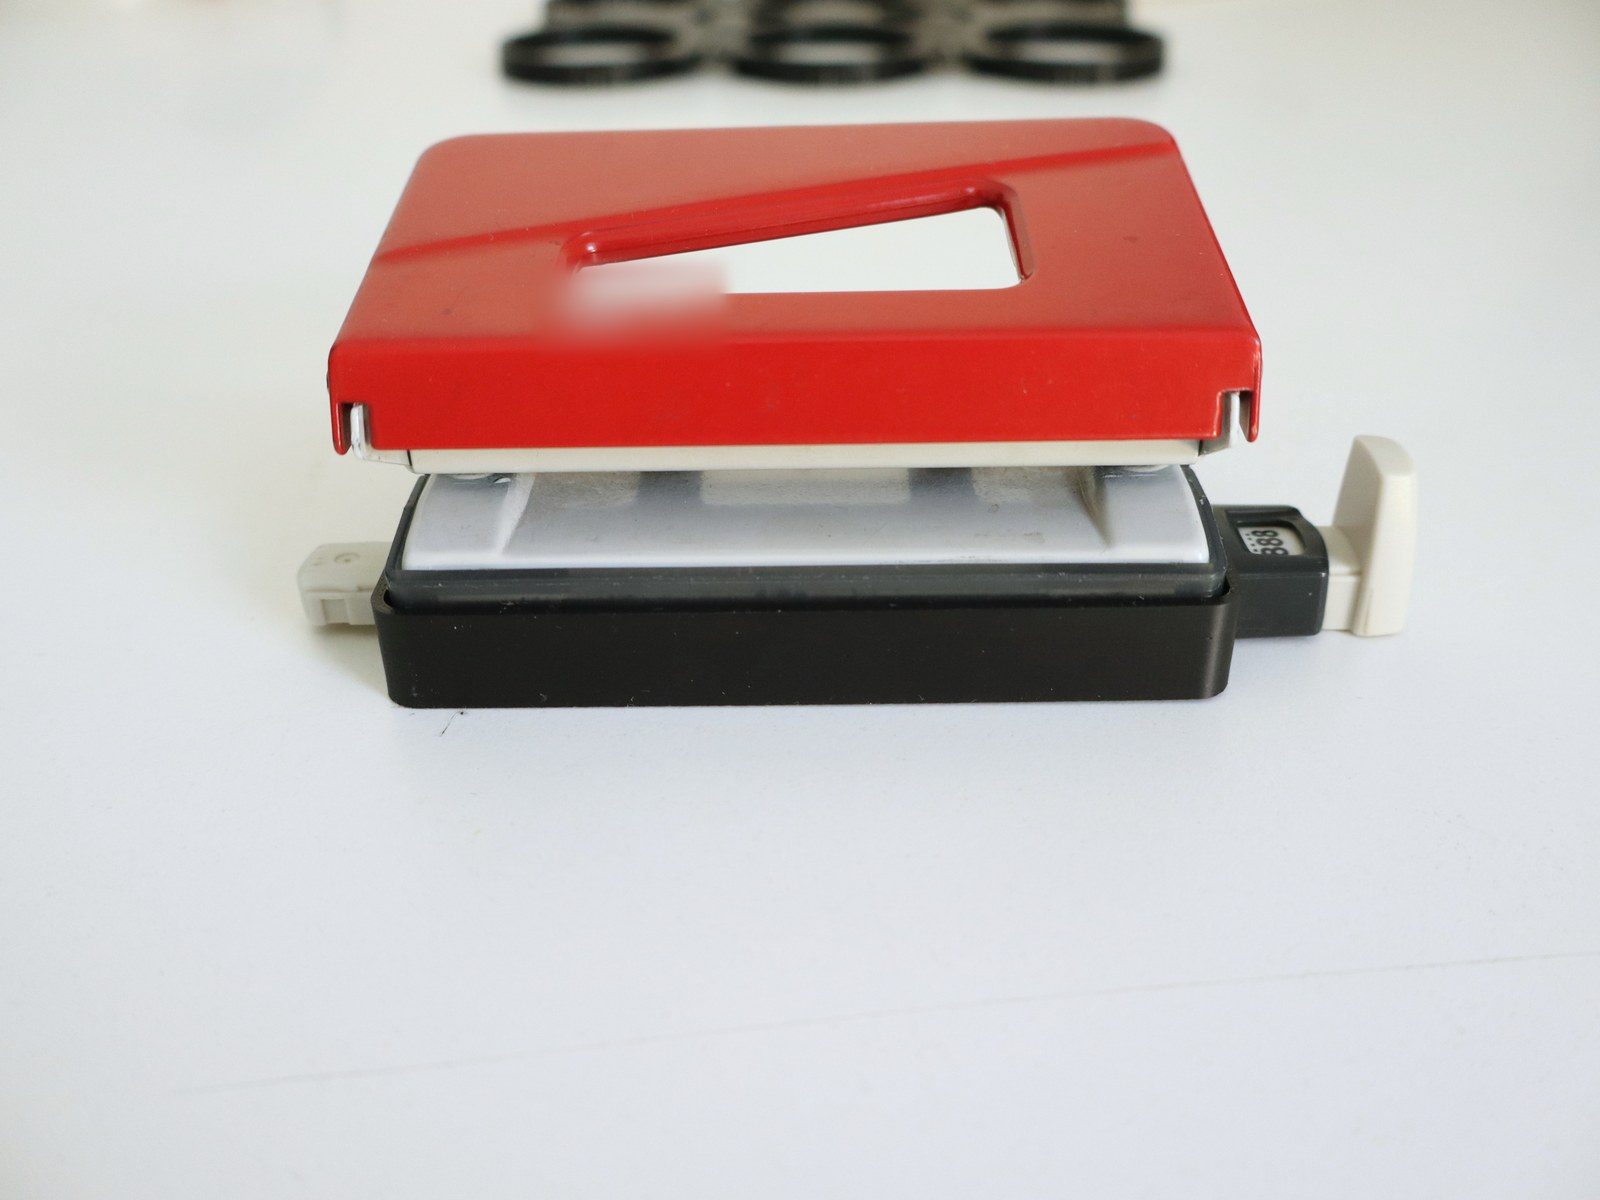
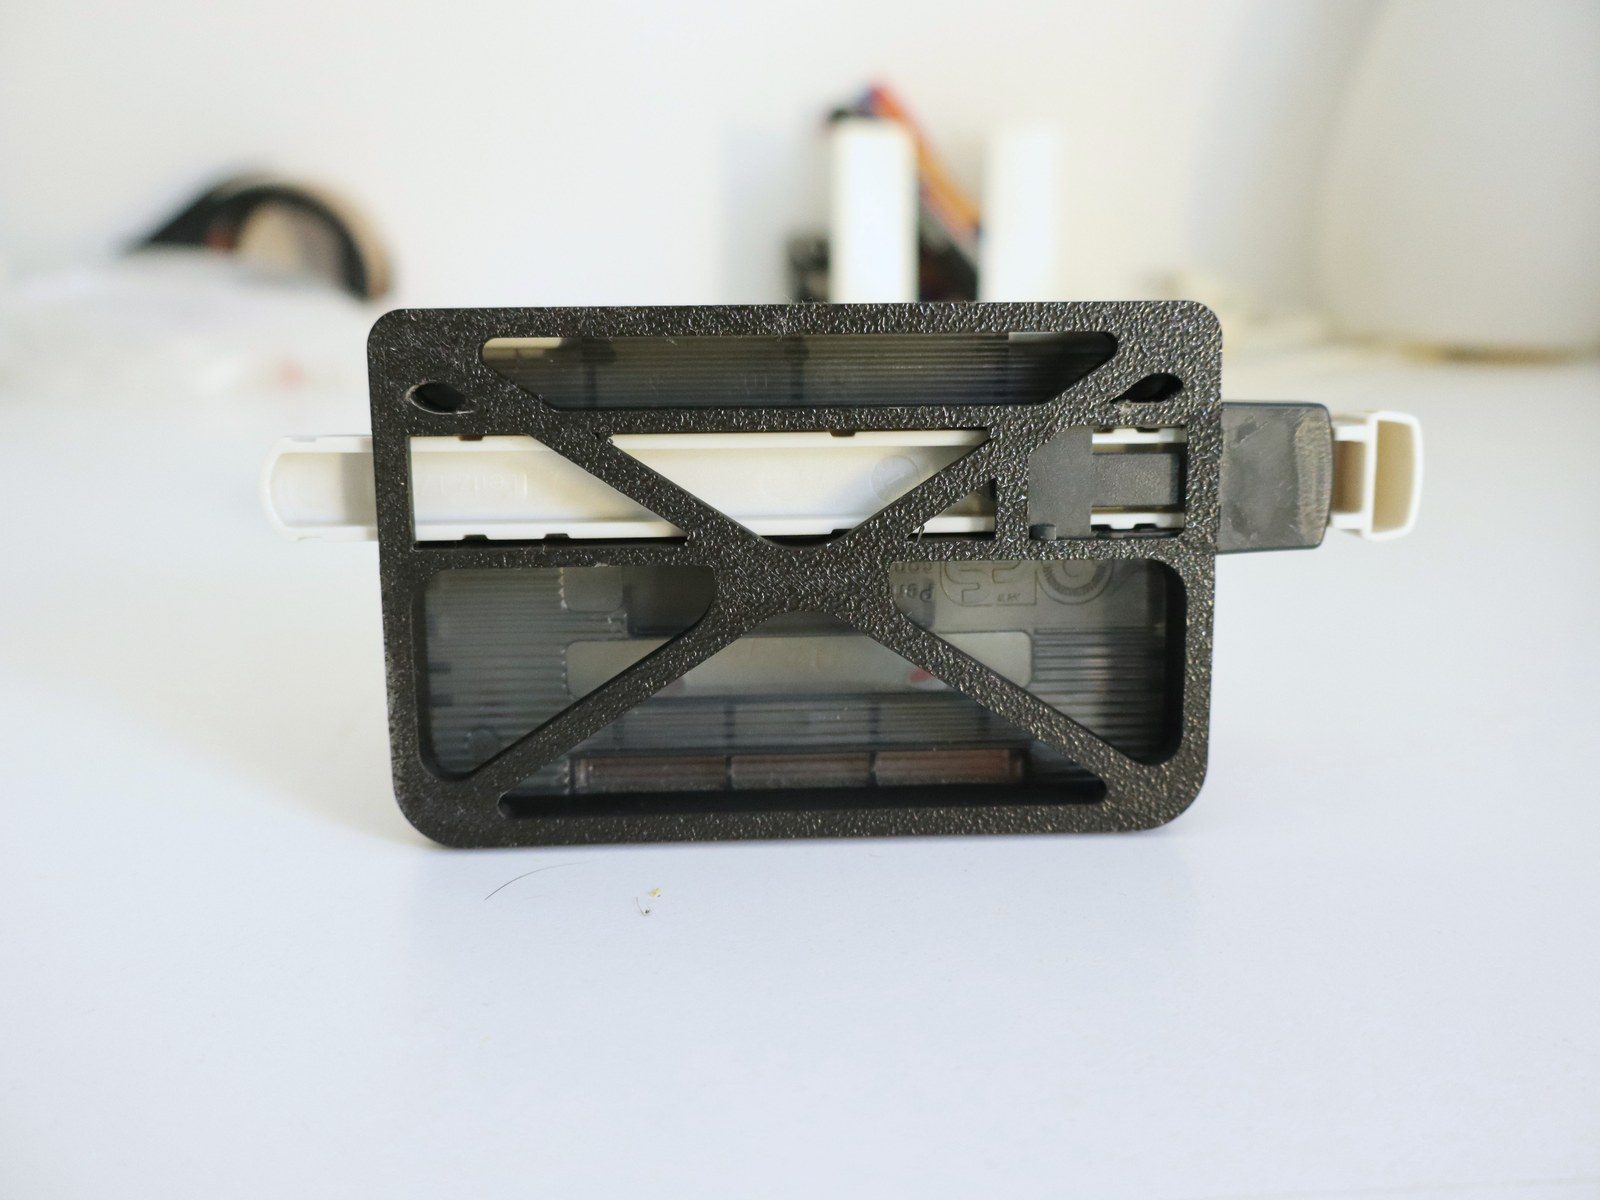
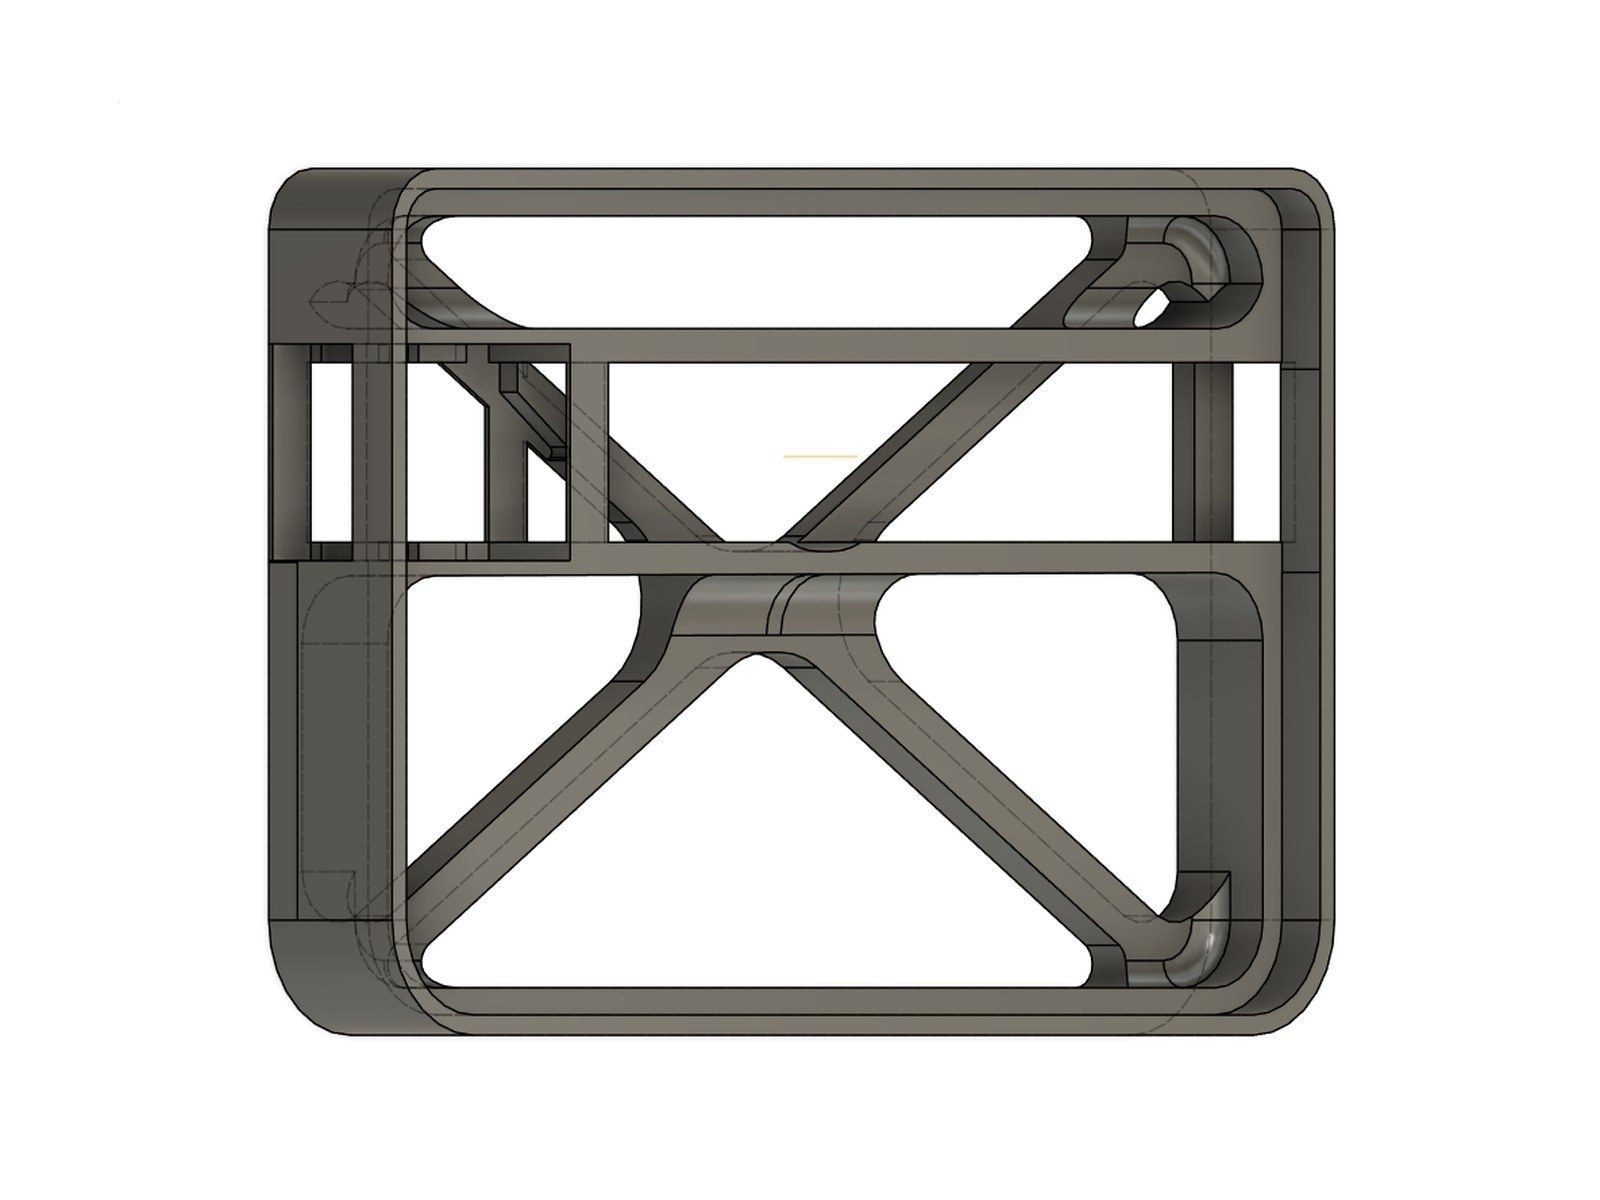
Photo - On the punch, with the size guide fitted Photo - Fitted, seen from below CAD - The frame with its cross bracing
Retrofitting a paper-size guide onto a mini hole punch. The guide rail came out of a broken device.
Read more
After printing, the frame is simply clipped on and the rail fitted together with its holder. The usual sizes can be read off: A6, A5, US, A4 and F. The cross bracing keeps the frame light and still sturdy.
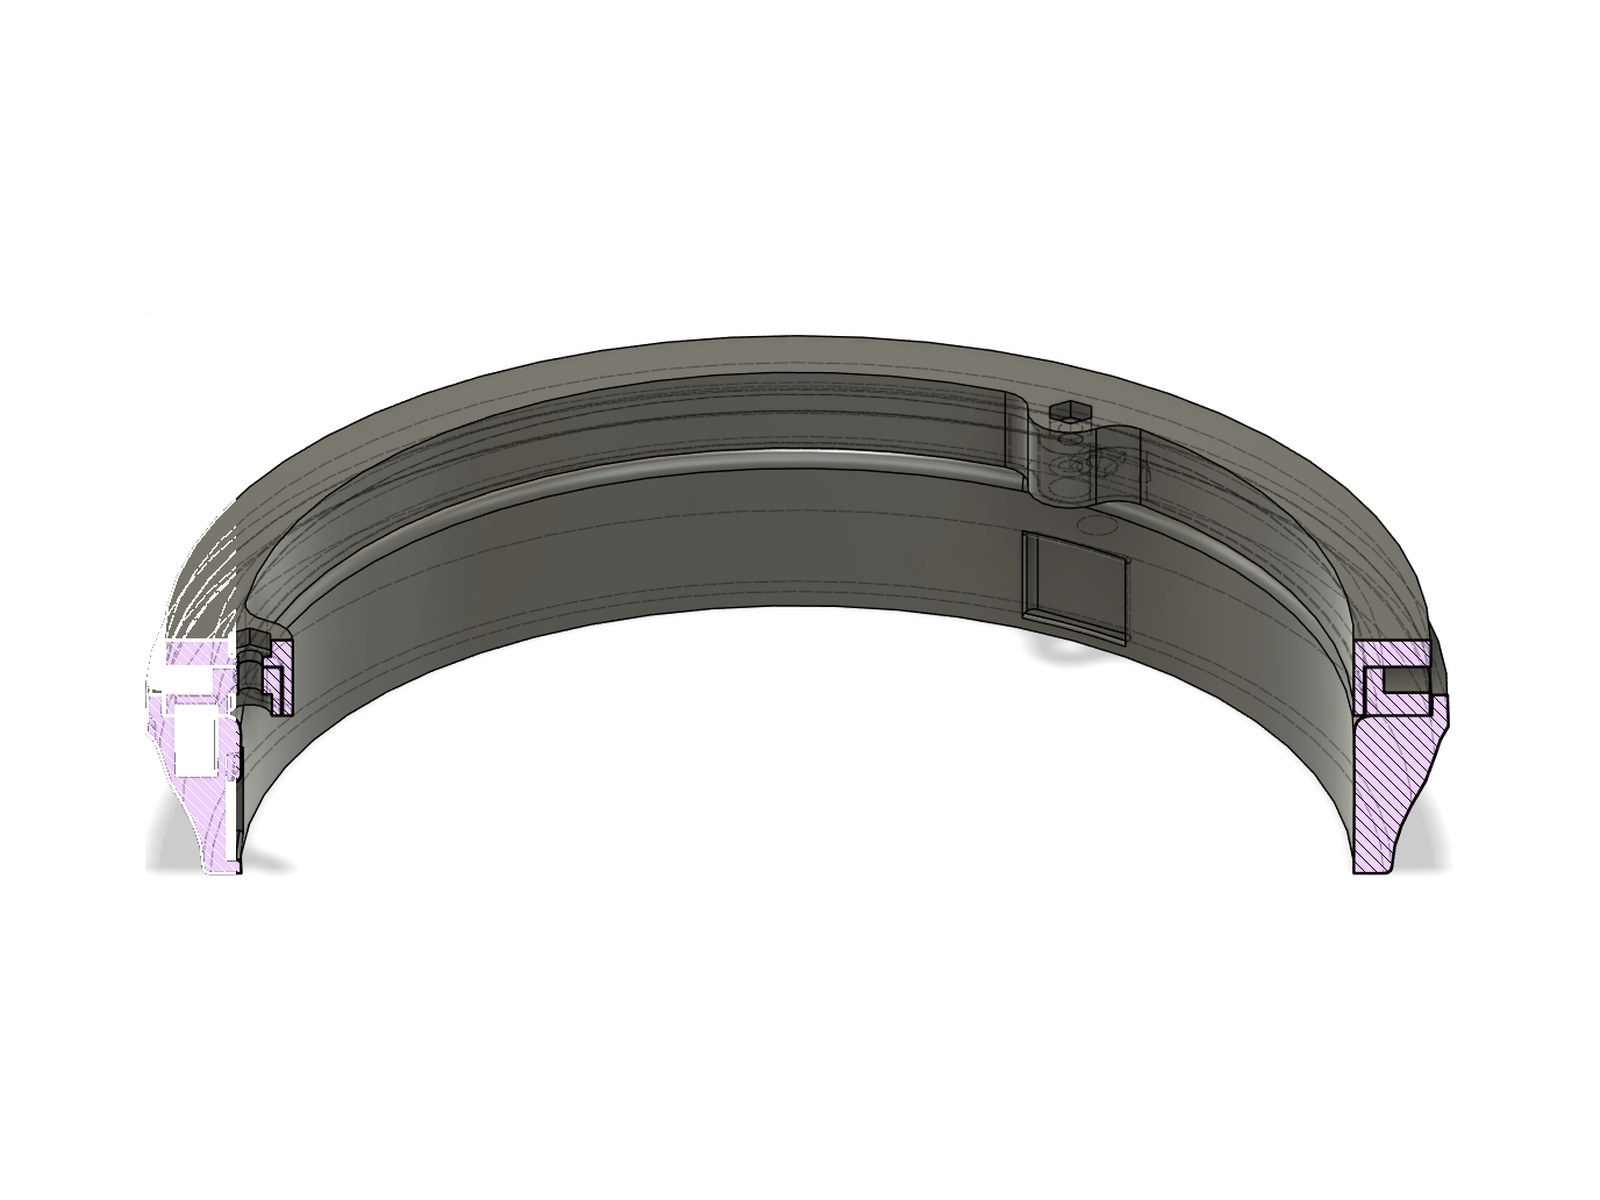
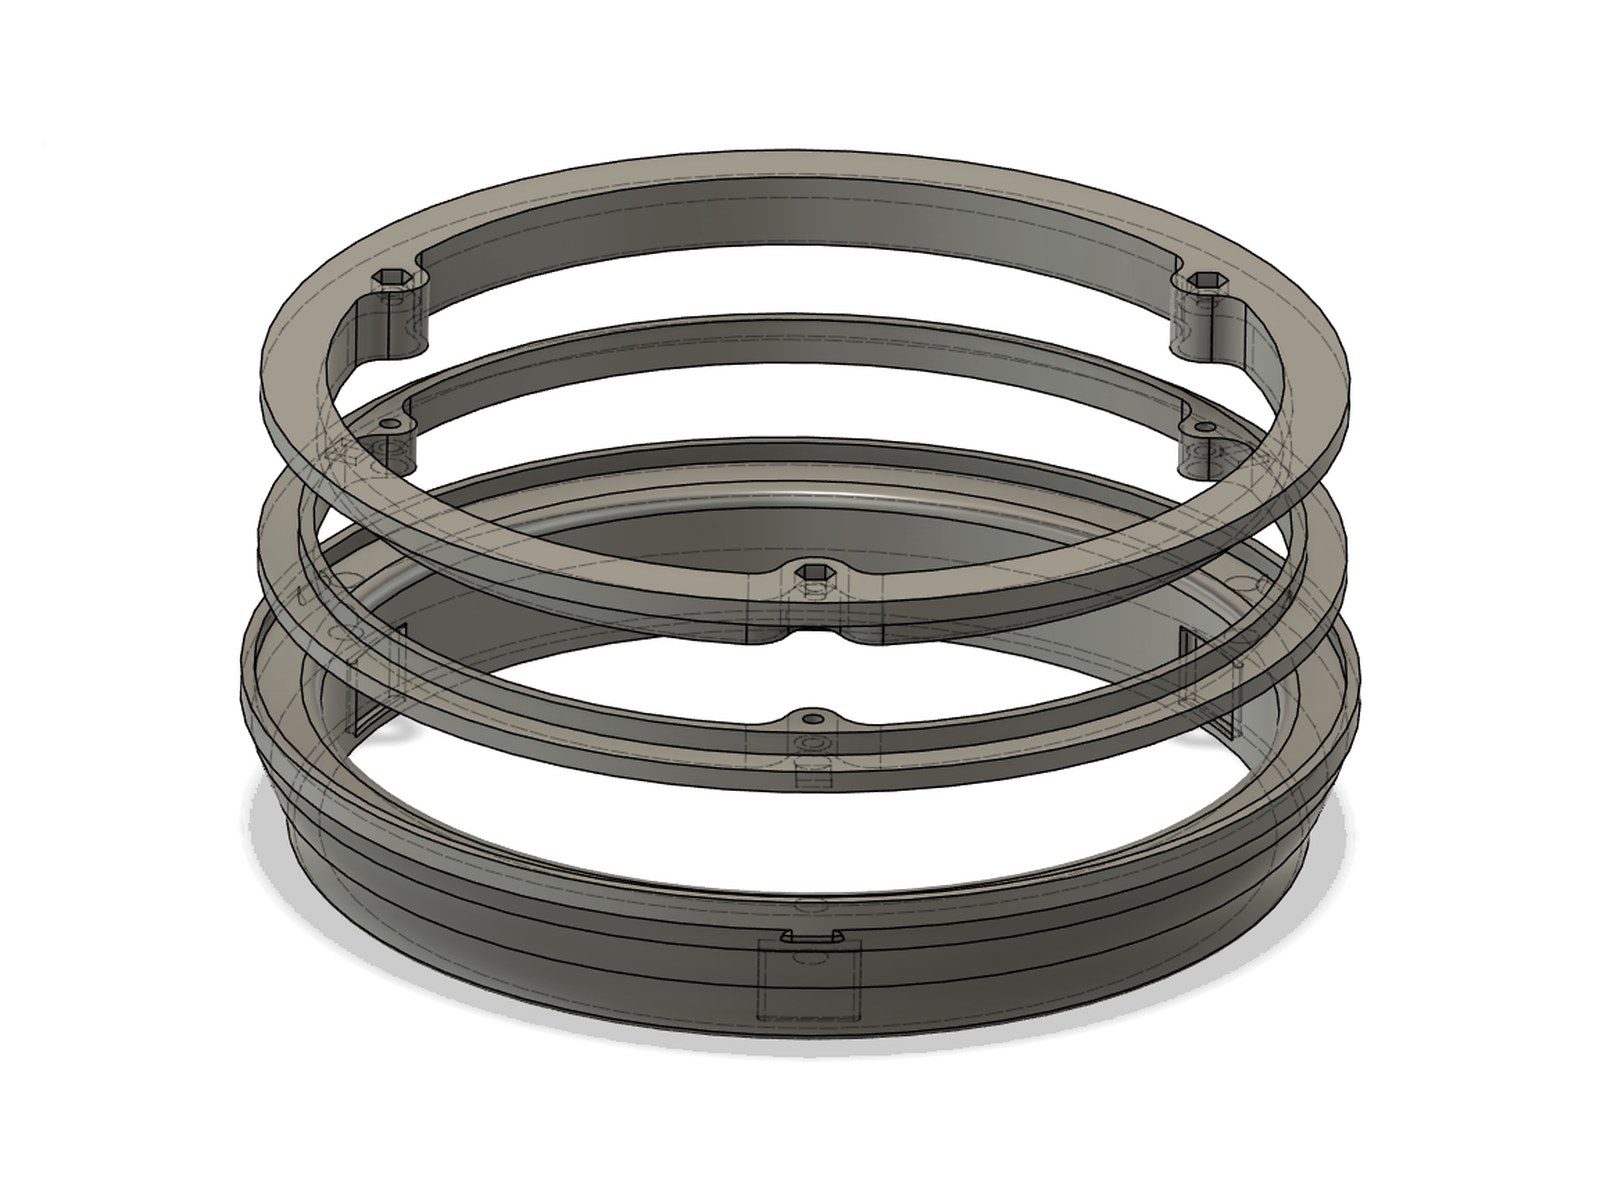
CAD - Assembled, in section, with the magnet pockets CAD - All the separate parts
A hose connection to an acrylic pane. Two rings clamp the pane between them, screwed from the inside.
Read more
Three neodymium disc magnets sit in the front face, at the same height as the screws. The hose part carries three bar magnets in its body, pressed in and glued, with small raised marks showing where they are. A surrounding lip takes up shear forces if somebody knocks against it and makes attaching and removing it clean. All of it stays flat enough for the window and the blind to close.
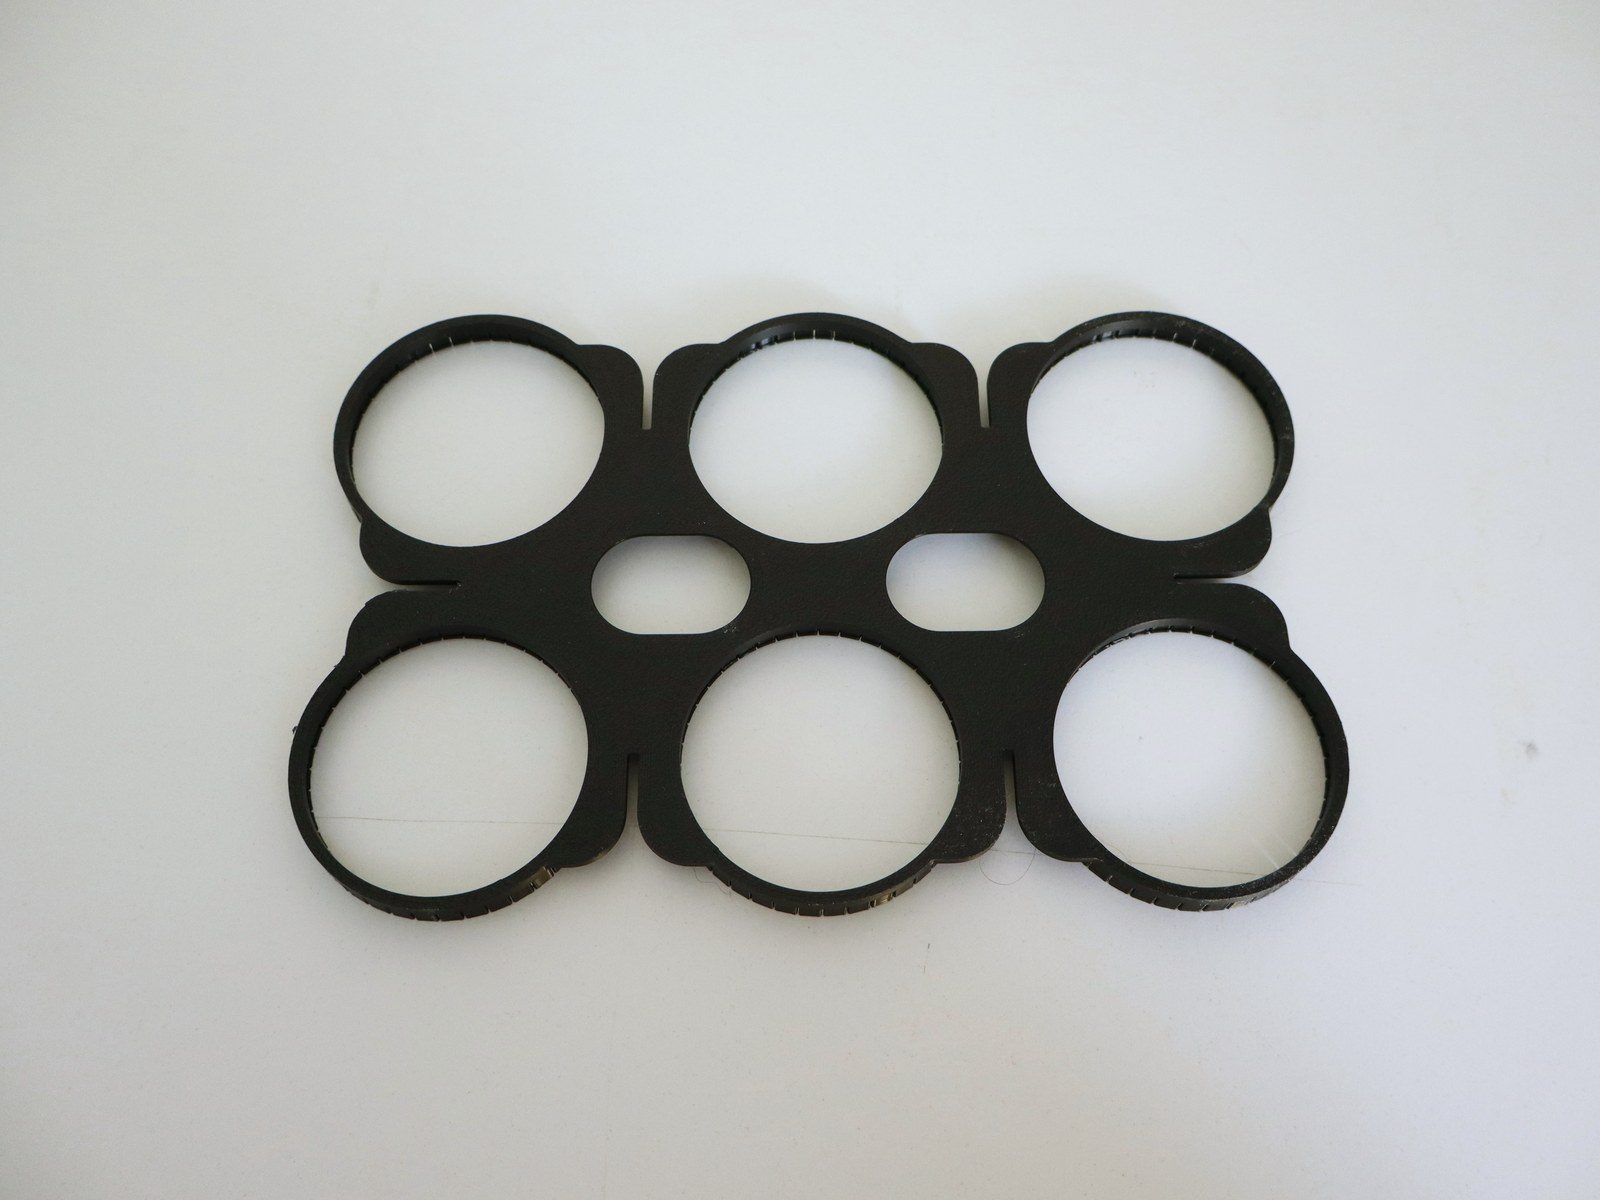
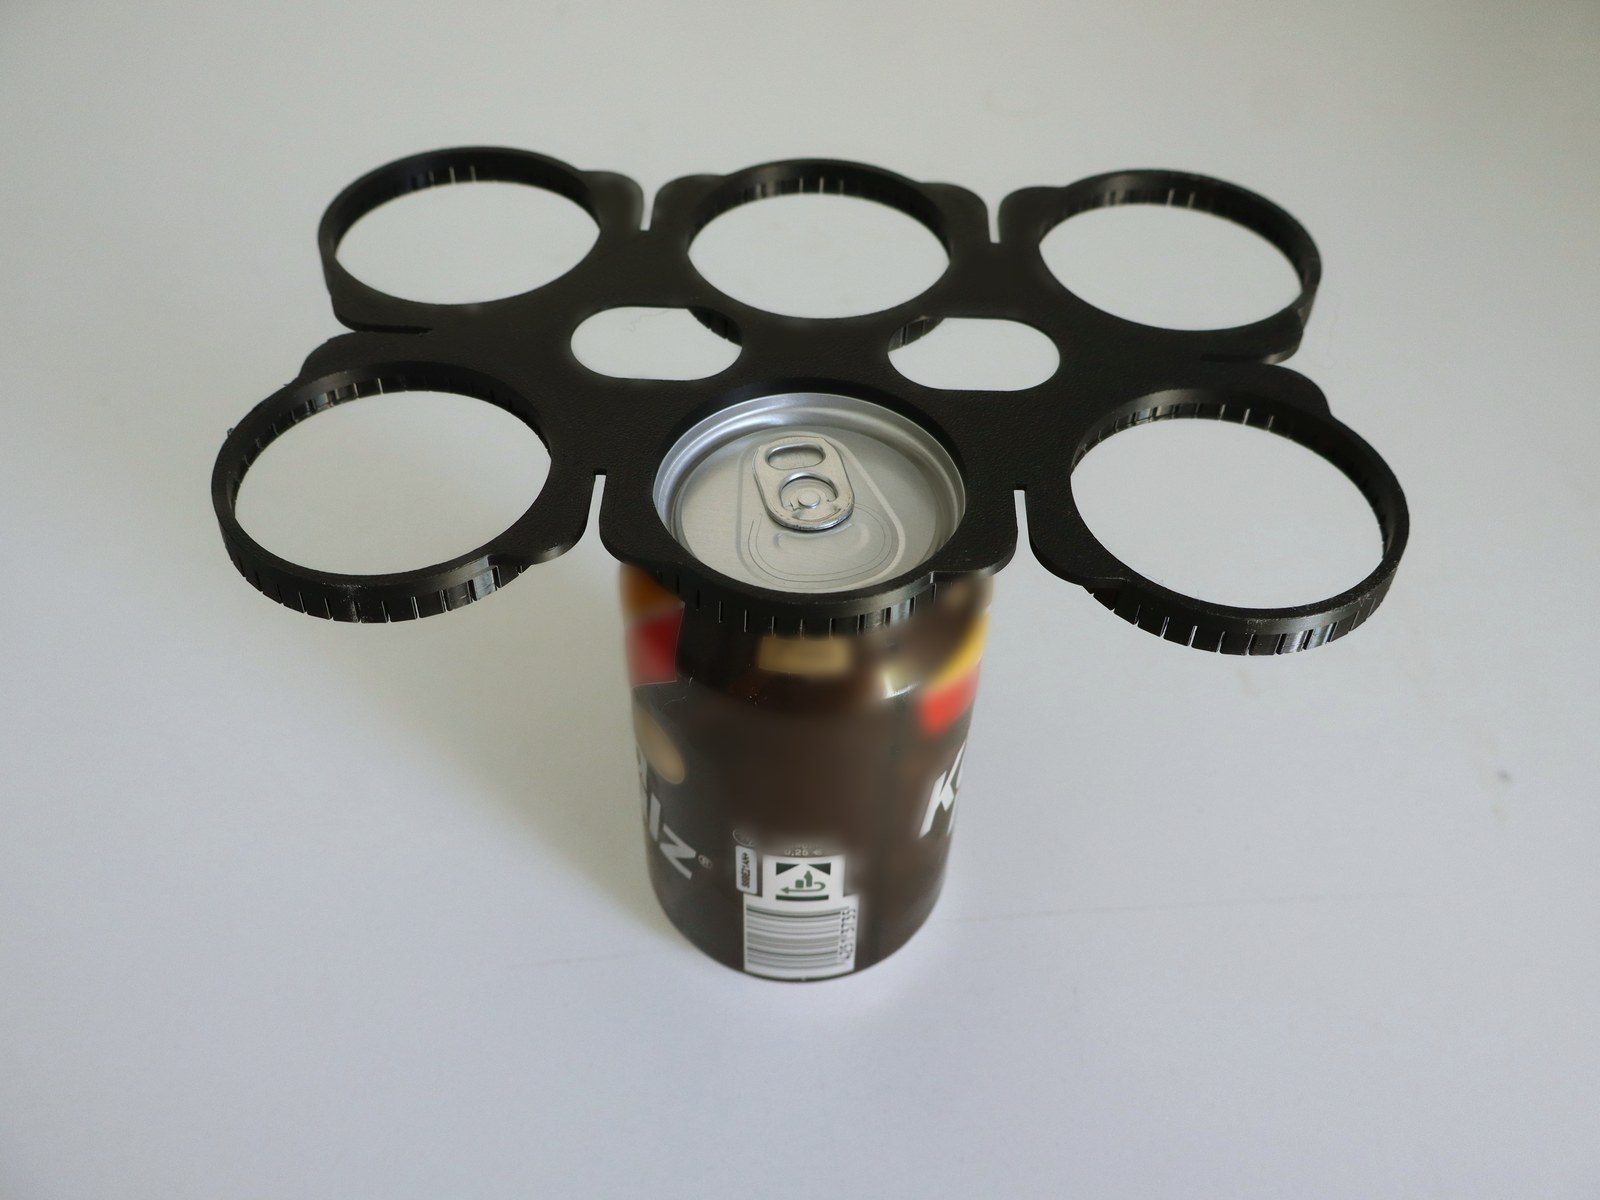
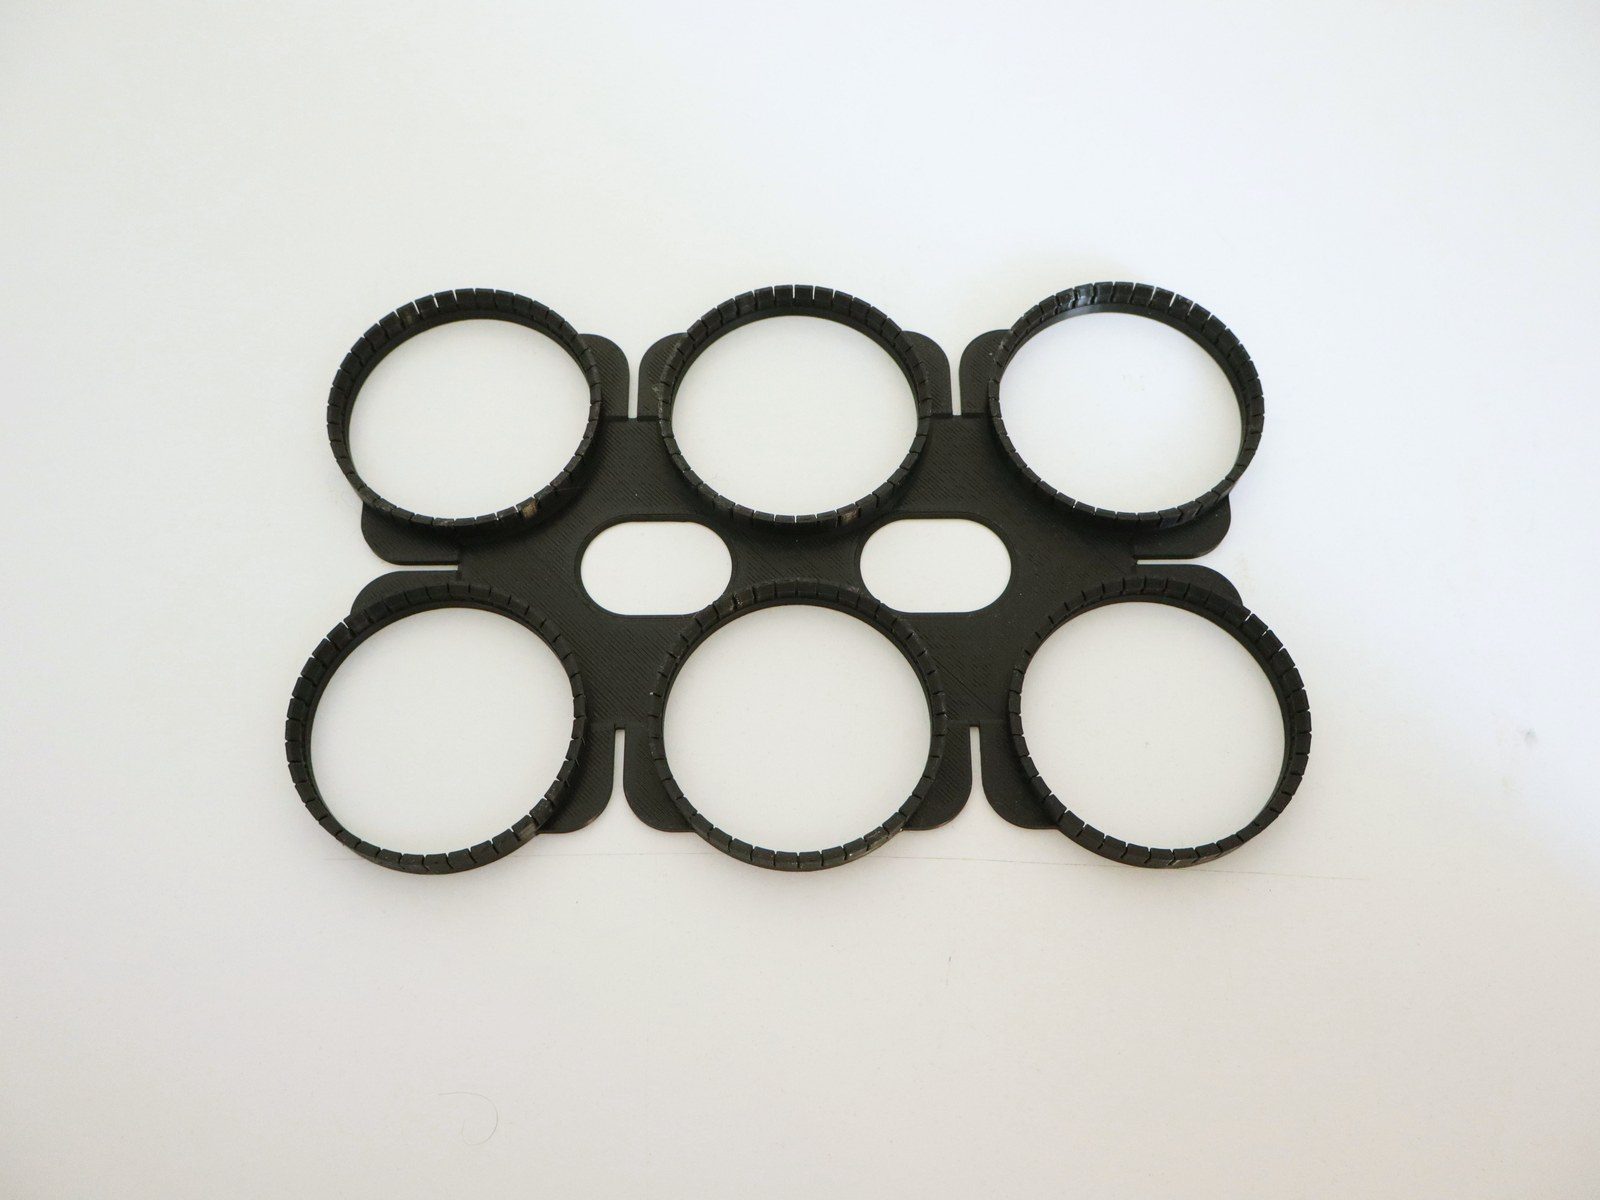
Photo - The carrier empty, from above Photo - With a can clipped in Photo - Empty, from another angle
A reusable six-pack carrier for six 0.5 litre cans. Fine tongues on the rim of each ring grip over the can's edge; the can is pushed in and held by the spring action.
Read more
Two holes in the middle serve as a handle, and the carriers stack. To really replace a throwaway ring it takes PLA: one of the few materials that is close to biodegradable, even if that takes around 80 years. PLA is also porous and breaks rather than bending, so no animal can get caught in it. It recycles well too, up to 60 percent recycled material can go back in. With a deposit or return scheme the same carrier can go round many times and be recycled at the end.
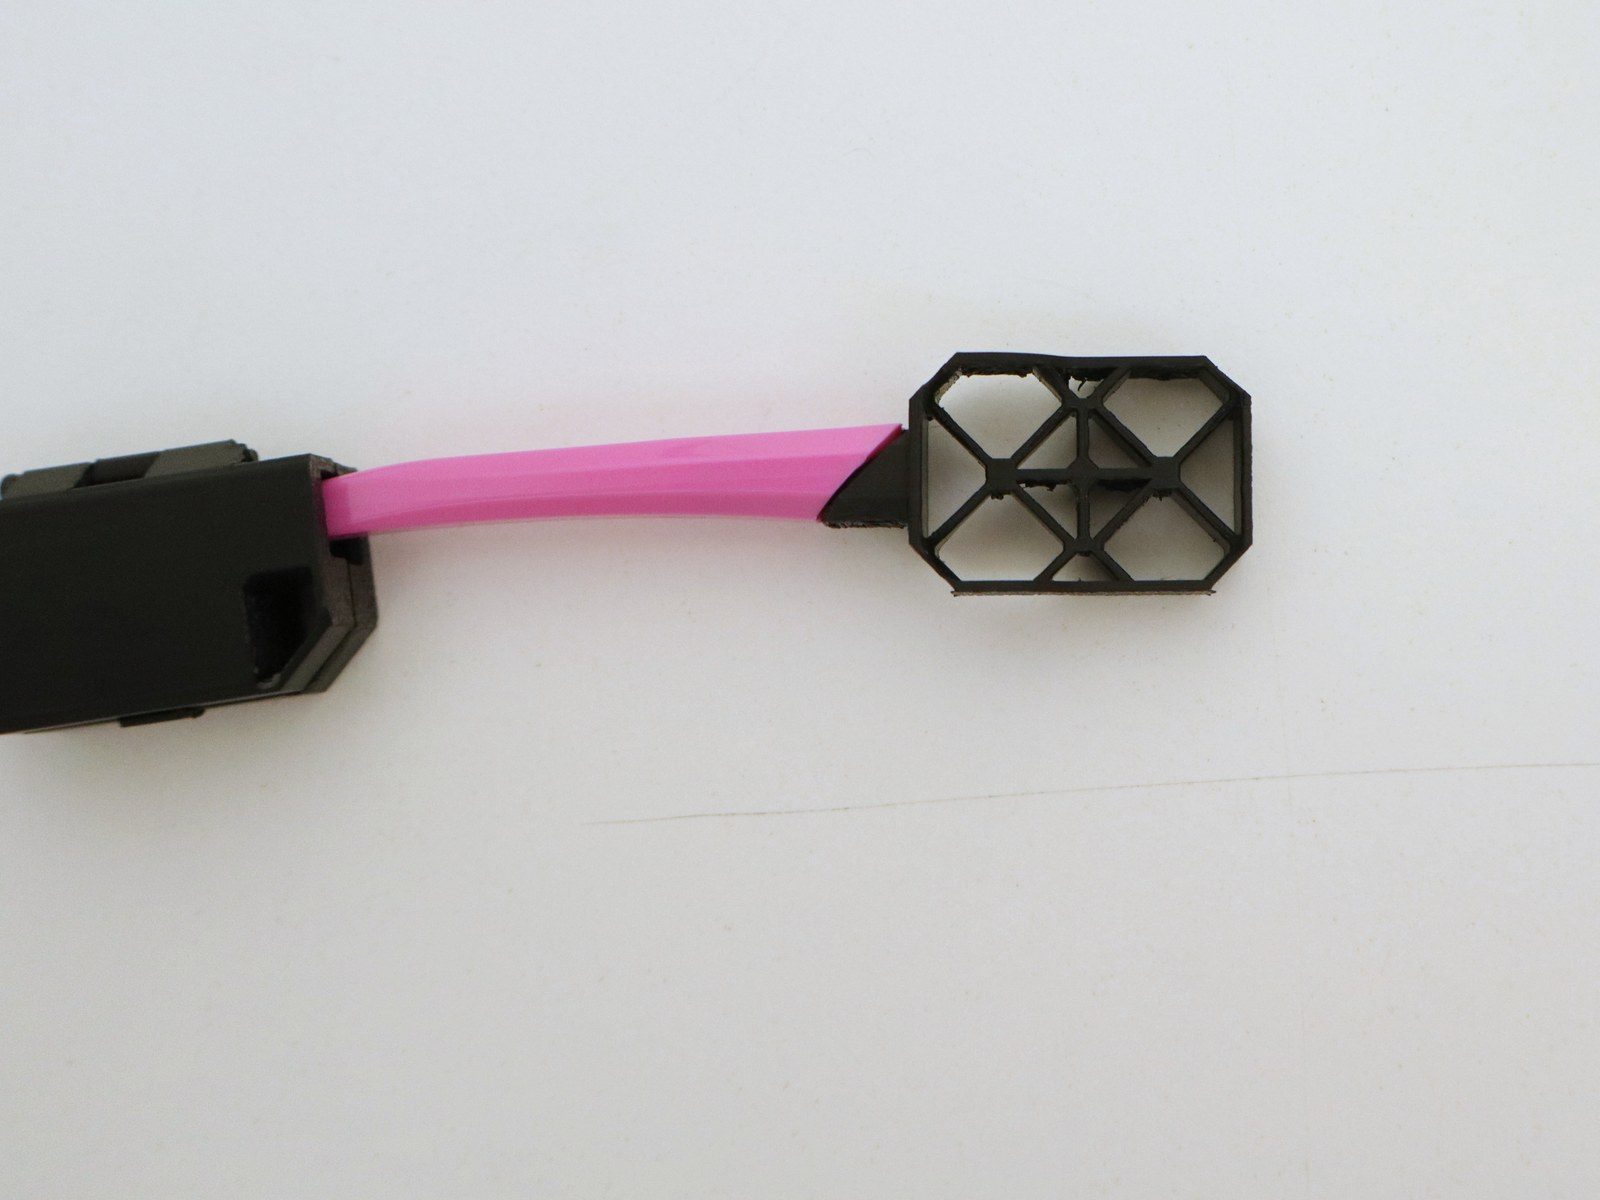
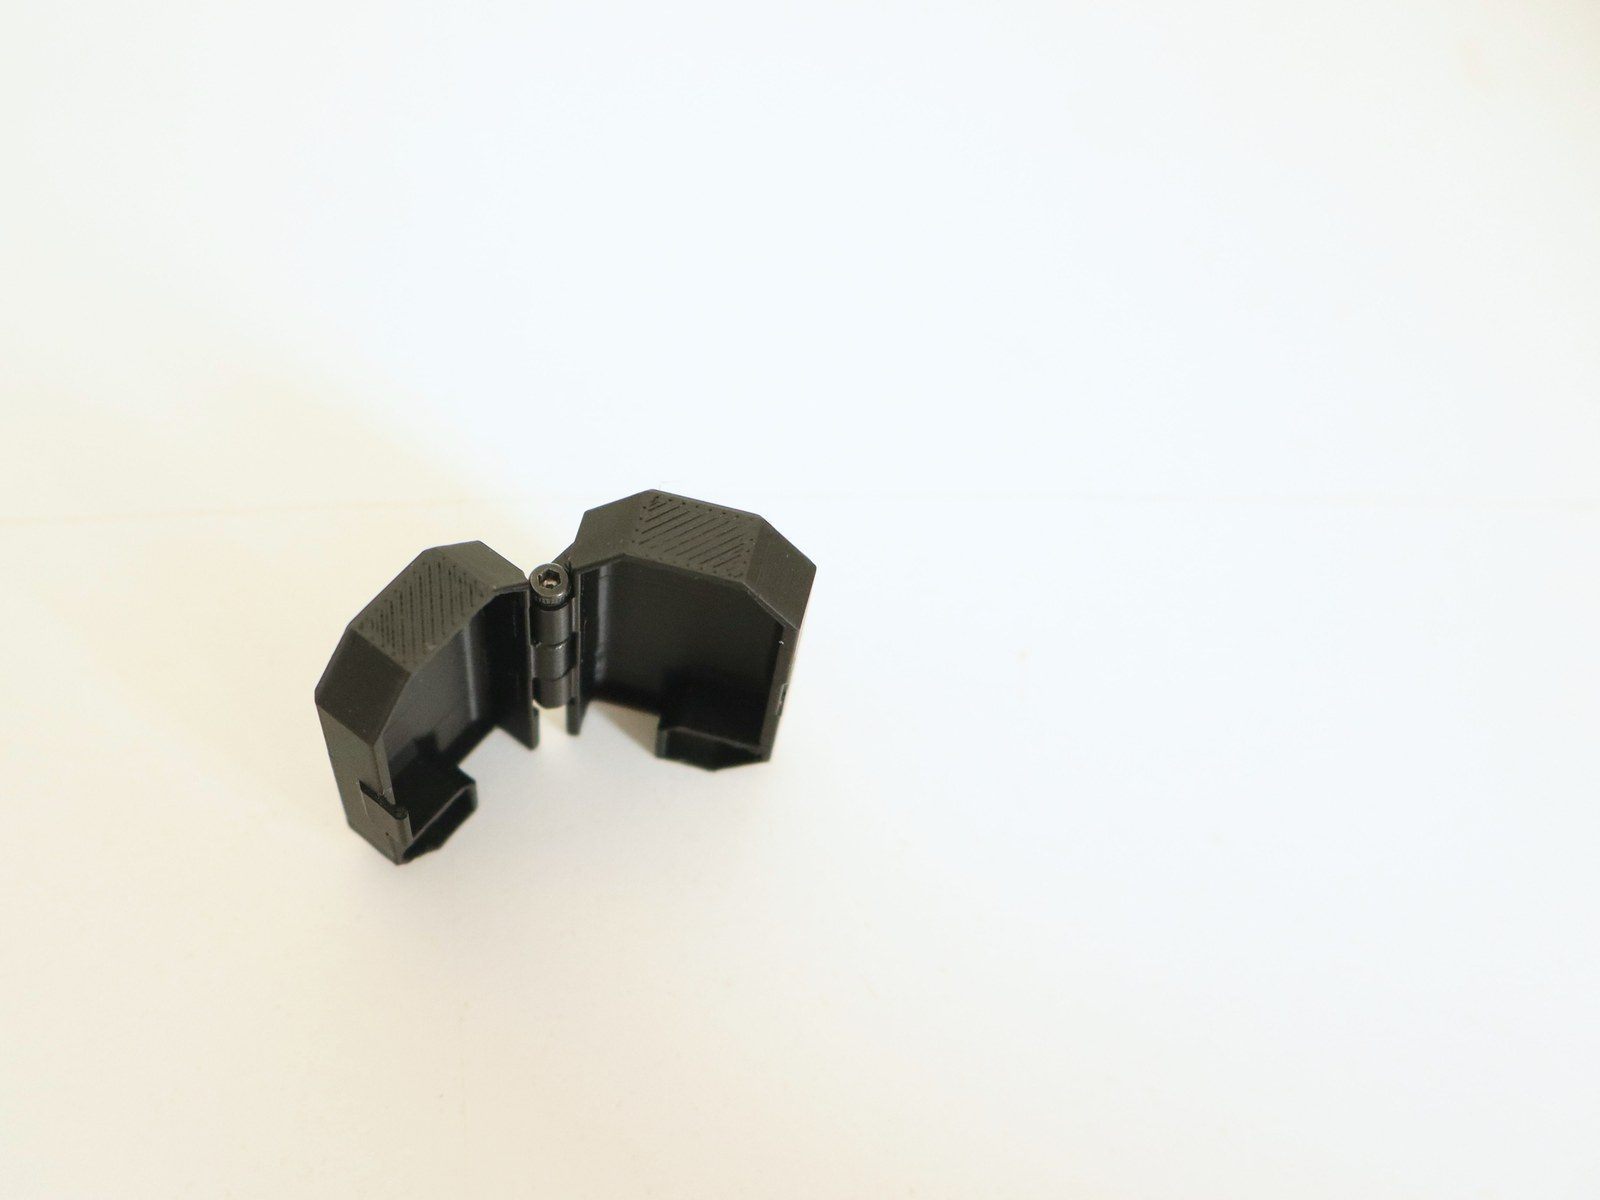
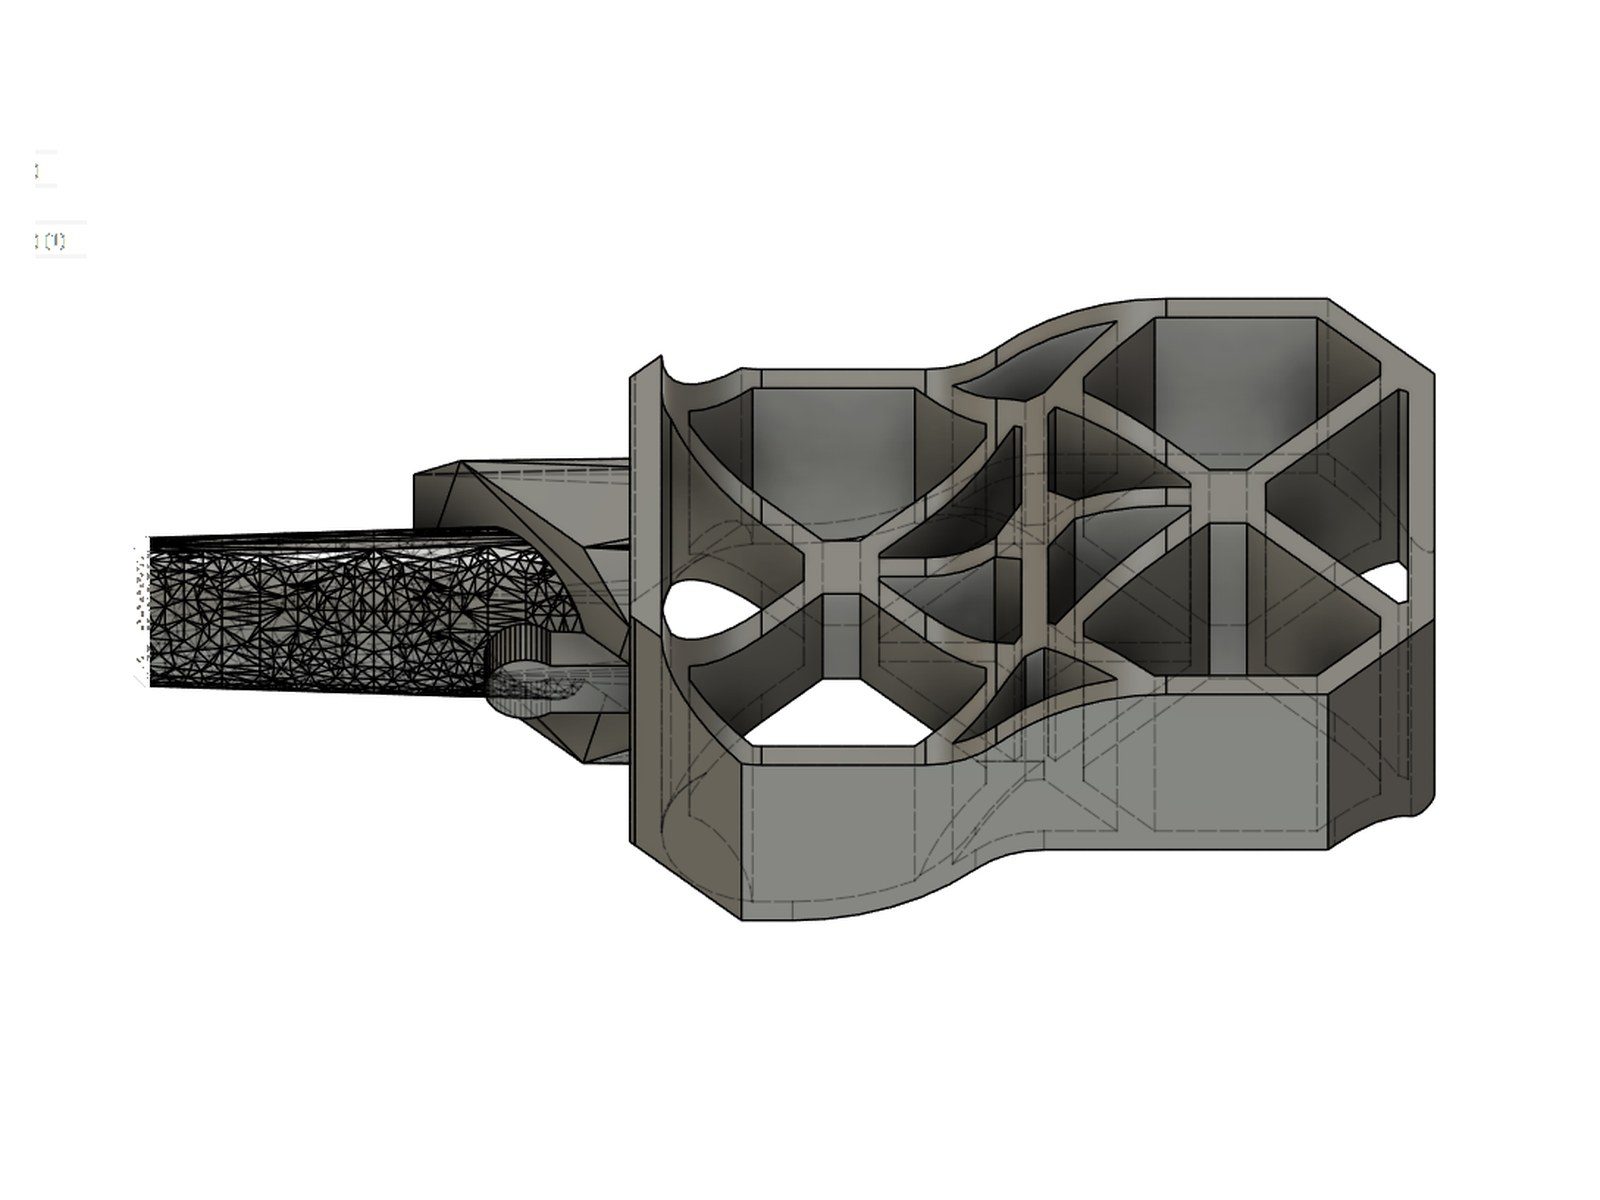
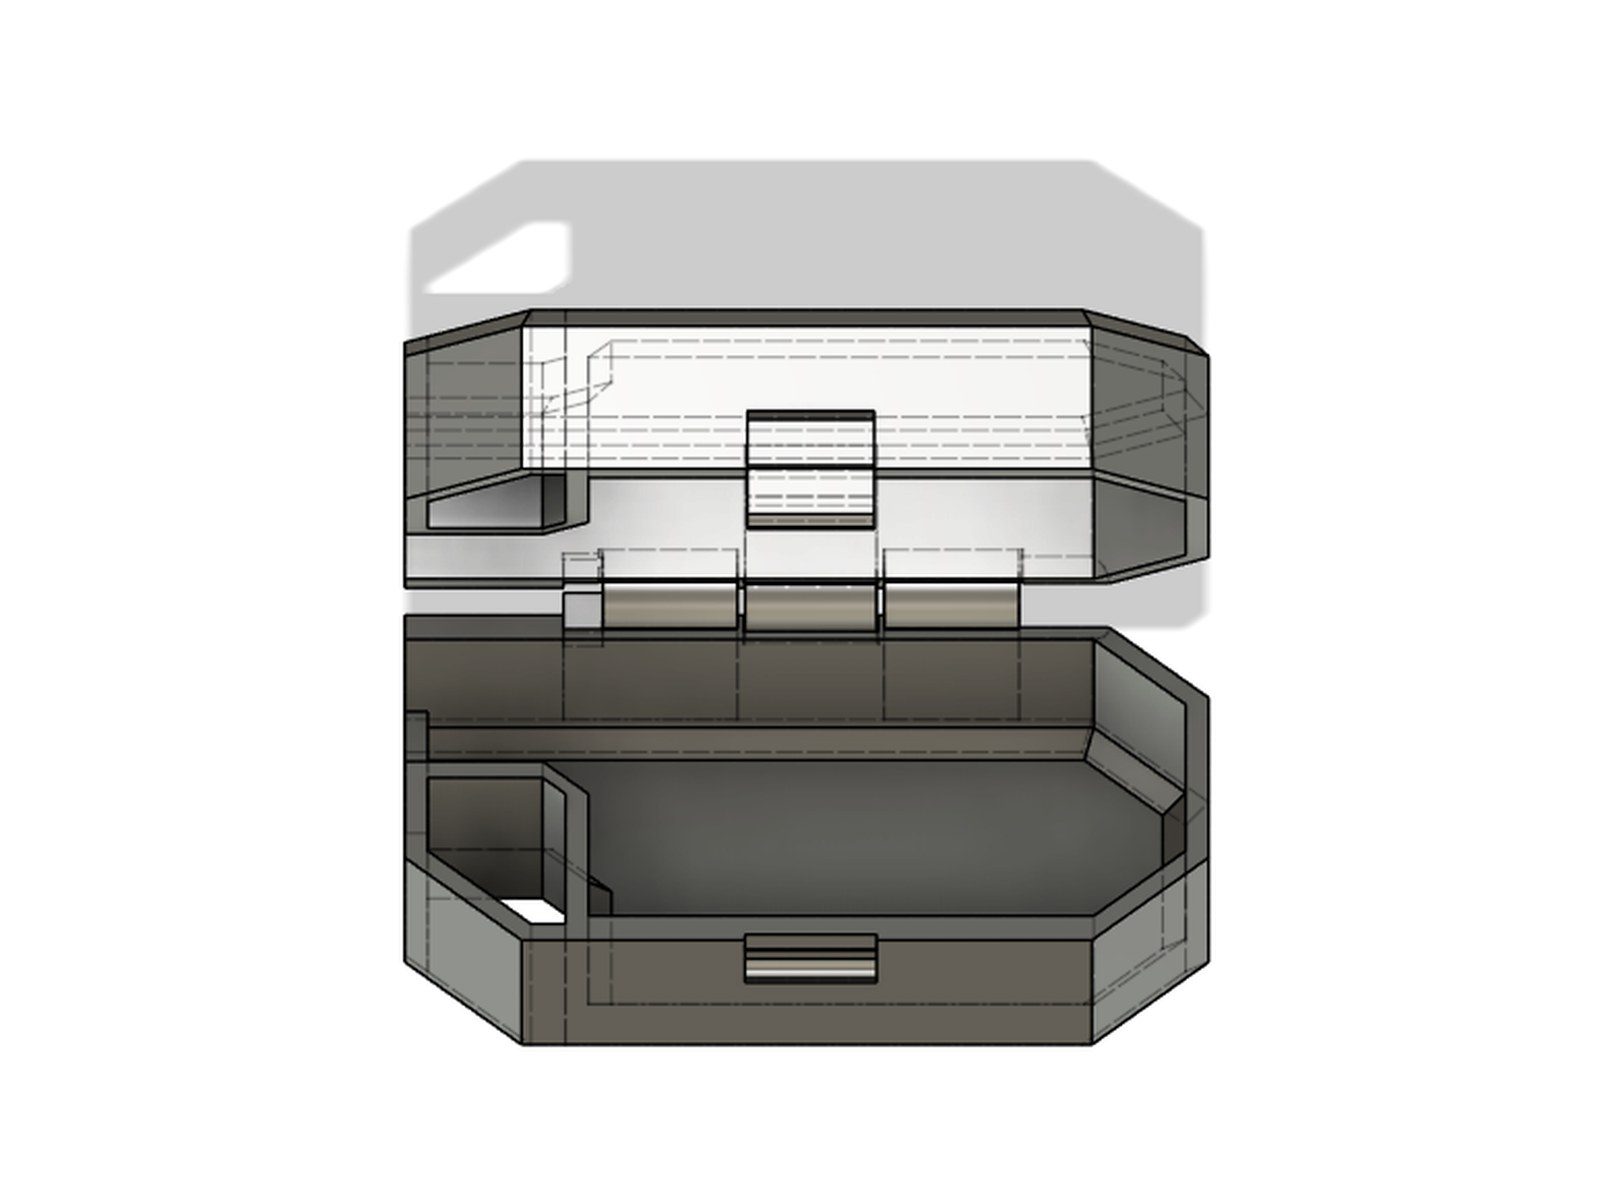
Photo - Handle and cap put together Photo - The cap opened up CAD - The handle with its honeycomb-like structure CAD - The cap, opened up
An ultralight handle with a protective cap for a replaceable brush head. The honeycomb-like structure of square cells with diagonal struts saves material without losing stiffness, and the shape is made for holding it between thumb and forefinger.
Read more
The cap is printed in two parts, joined by a screw that acts as both thread and hinge so the folding joint keeps working. Brush heads can be bought separately. ASA-X for its dimensional stability and UV resistance, both of which matter when the part spends weeks outdoors in a backpack.
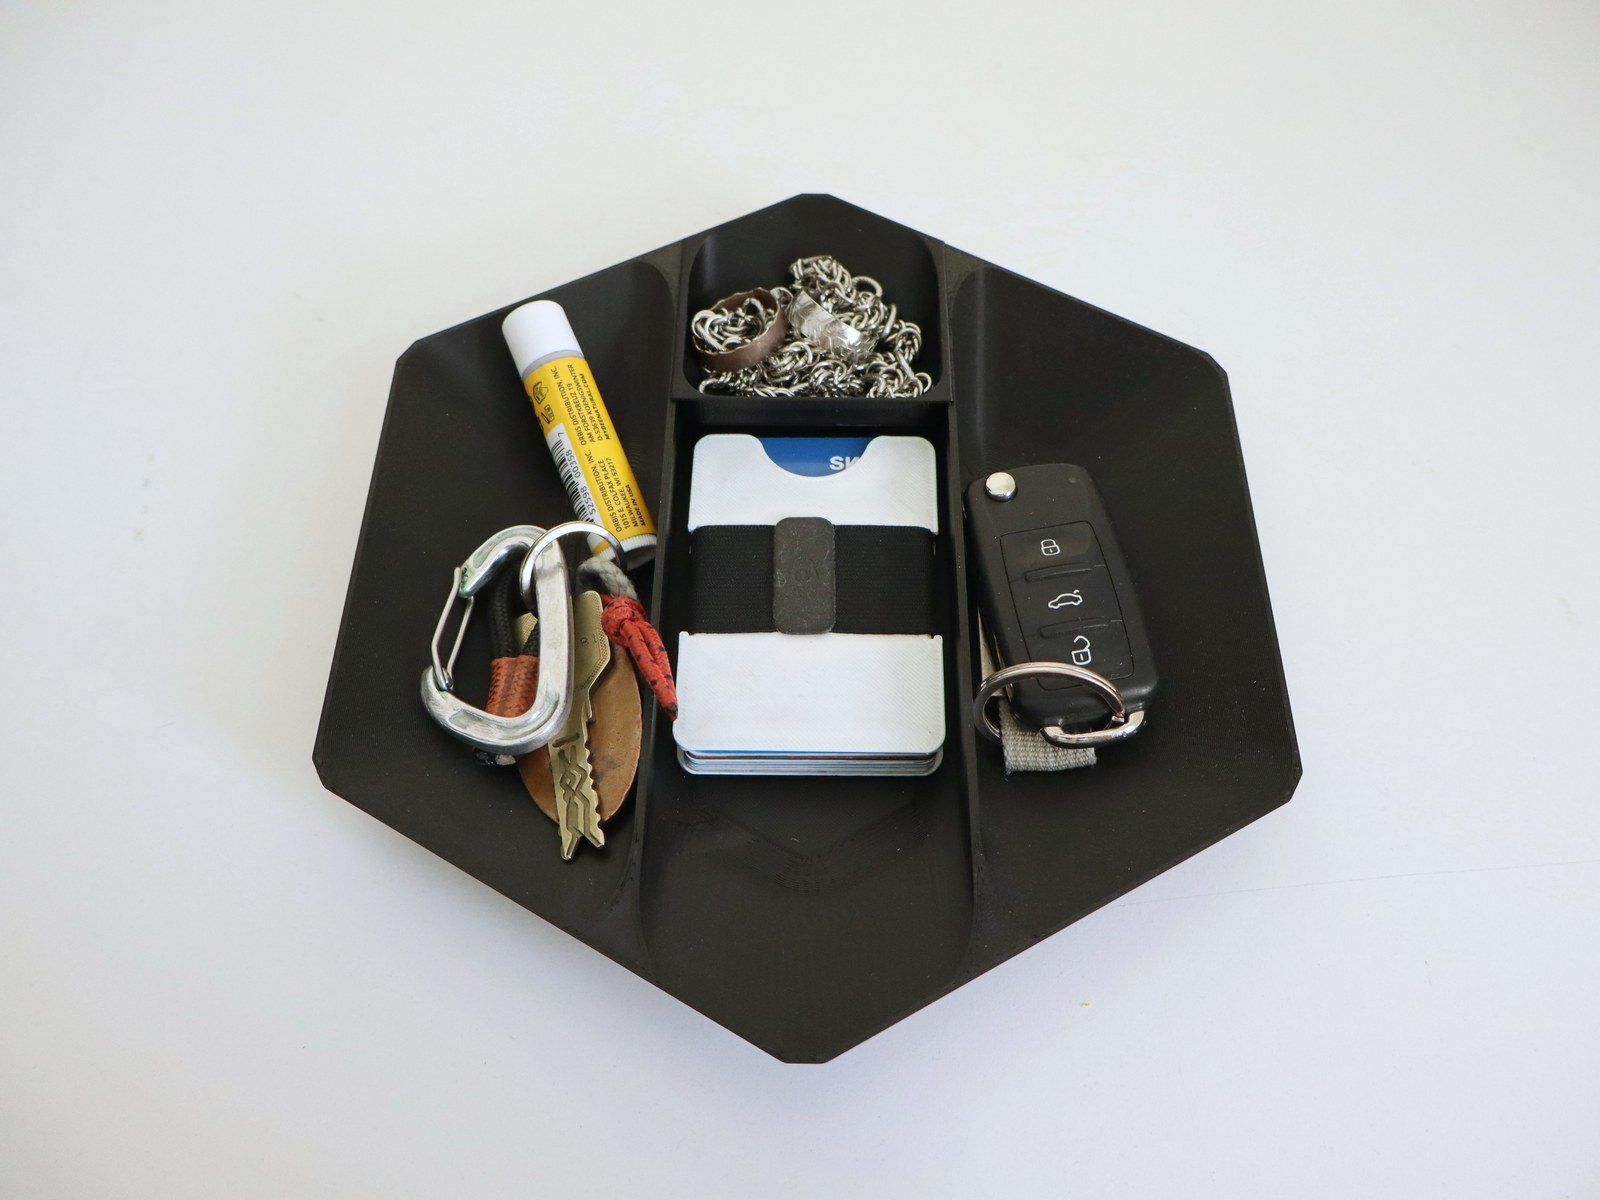
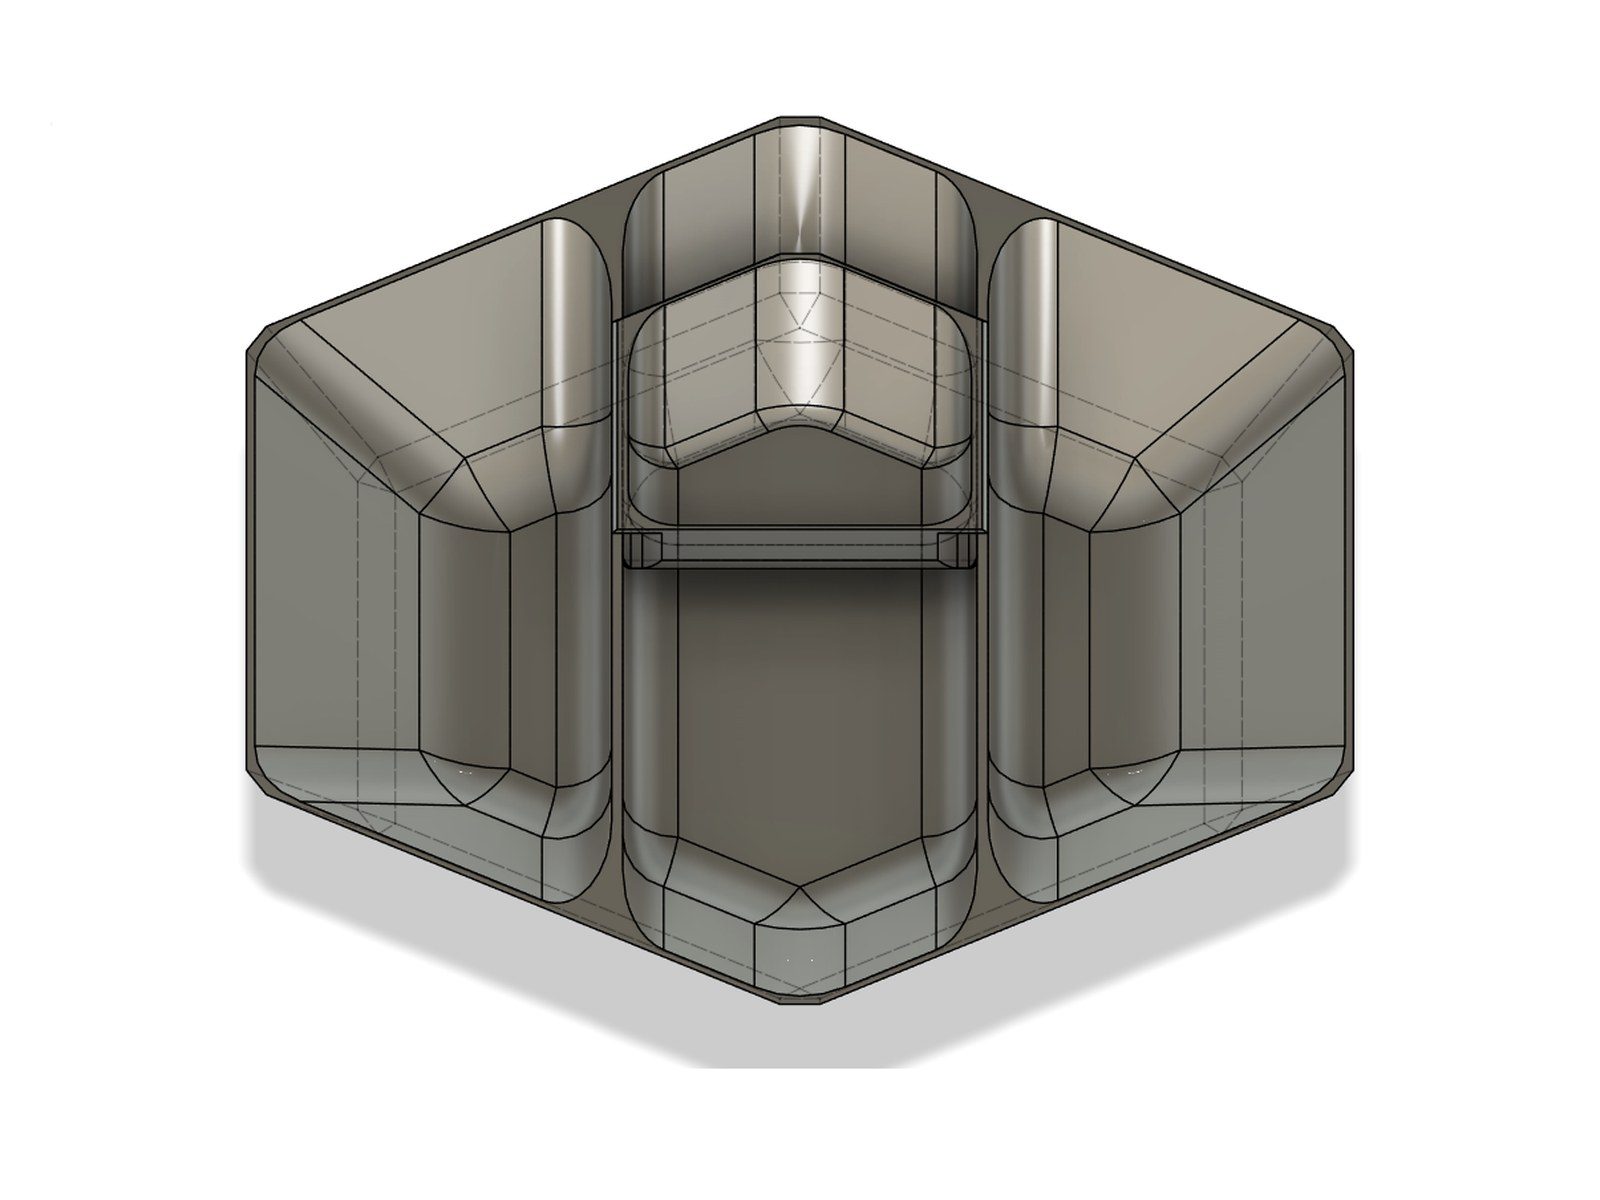
Photo - The tray in use CAD - The compartment layout
A hexagonal tray. Two large compartments left and right, a long channel between them for the everyday things from your pockets, and above that a smaller compartment for jewellery or little items.
Work
From the workshop, not from a catalogue.
Every picture shows a part exactly as it came off my printer. A selection from over 100 jobs and test runs since 2022.


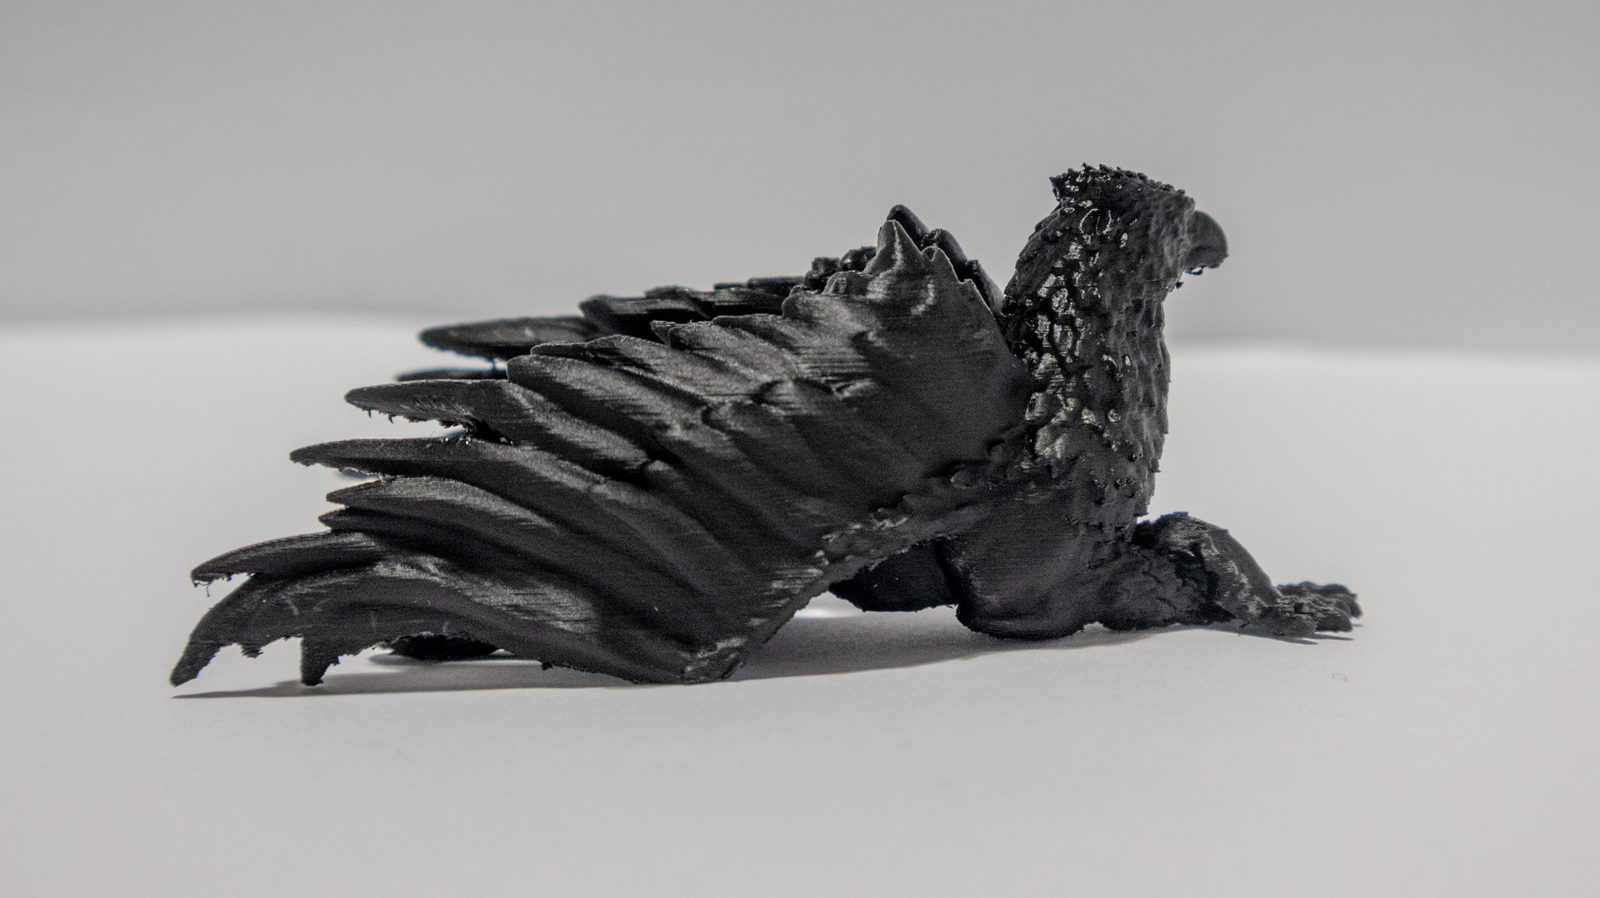
Photo - Five parts from one file, staggered by colour Photo - Duochrome filament, one spool, two colour impressions: gold or violet, depending on the viewing angle Photo - Model and wave base printed separately, then joined Photo - What looks large on screen often fits in one hand, and even one-offs at this size are printed properly Photo - Detailed figure with plumage texture down to the last feather, 0.08 mm layer height


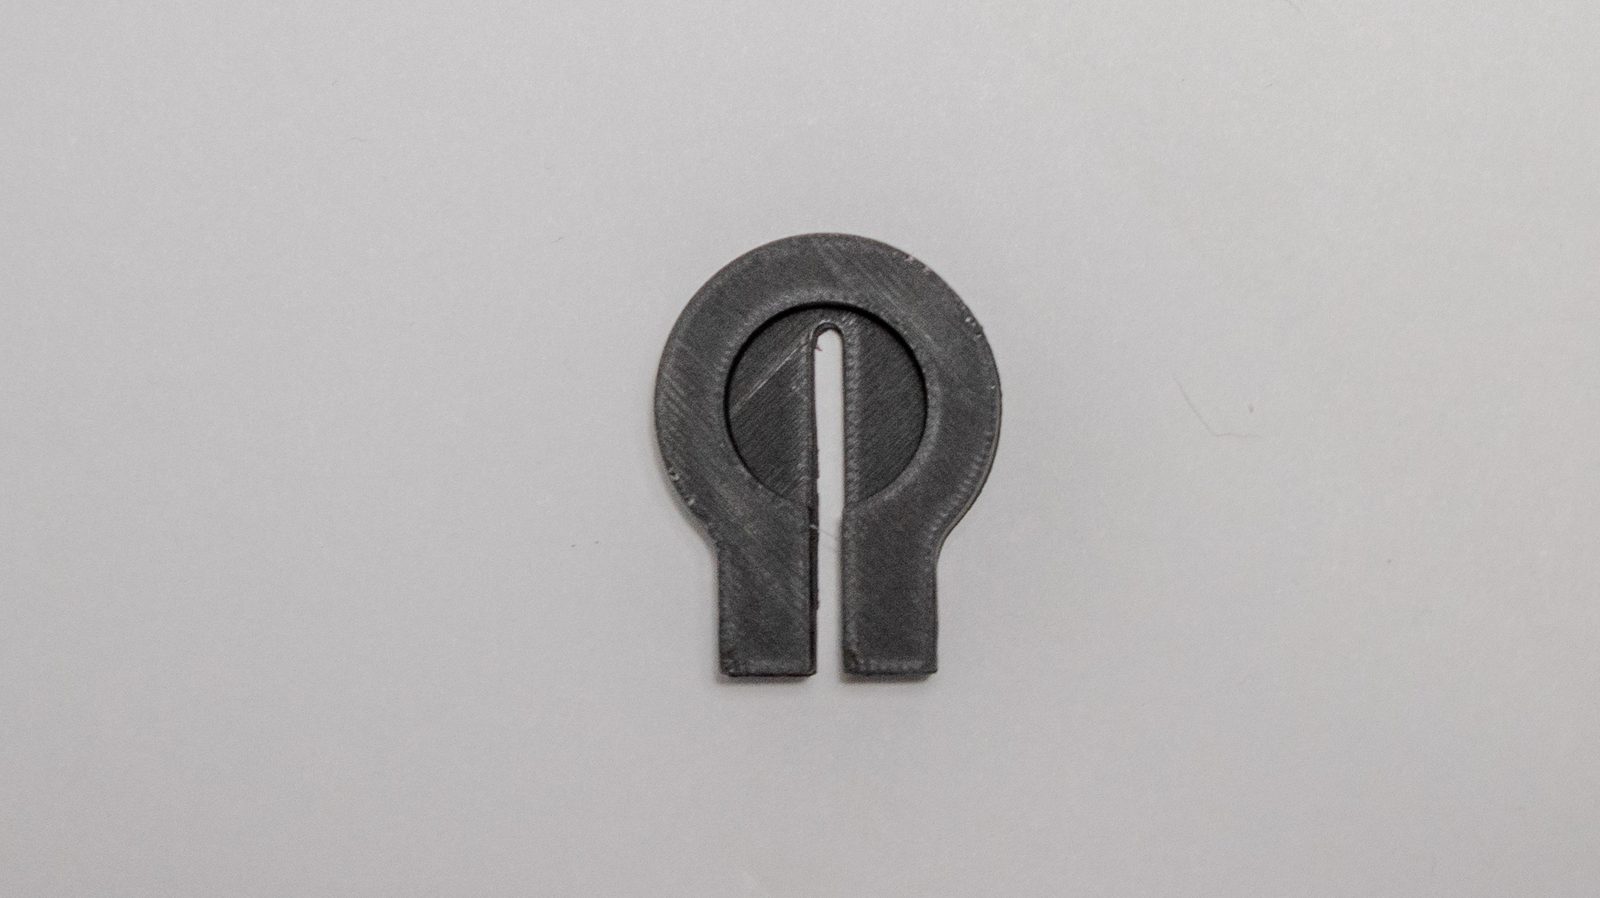
Photo - Mounting plates with cut-outs and screw pattern Photo - Clamp holder with through-hole and slot, PETG Photo - Flat component with slot cut-out, exactly from above
Video - The colour change happens mid-print via the AMS
Video - Hours condensed into a few seconds
Process
Four steps on a timeline.
Before anything is printed, you know the price. After that everything runs through one channel, directly with me and without any middlemen.
-
Send your enquiry
Fill in the form and upload the file or link to it. If you do not have one yet, a sketch or a photo is enough for a design job.
-
Receive the quote
Without obligation and fairly calculated, with a fixed price: for printing from the amount of material and the print time, for design from the design time.
-
Production
Printing usually 1–4 days, design 1–7 days.
On larger projects you get interim updates before the work continues.
-
Collection or shipping
In person in Munich by arrangement, or anywhere in Germany with DHL GoGreen, as a letter or a parcel. You pay the quoted amount by PayPal or bank transfer; I will issue an invoice on request.